Subaccount allows you to create and manage separate accounts under your main Guni account. Each subaccount has its own users, contacts, and message history— ideal for teams, departments, or clients.
Benefits of Subaccounts:
- Keep communications and billing separate for each team or client.
- Easily manage access and monitor performance for different groups.
- Streamline workflows while maintaining full control from the main account.
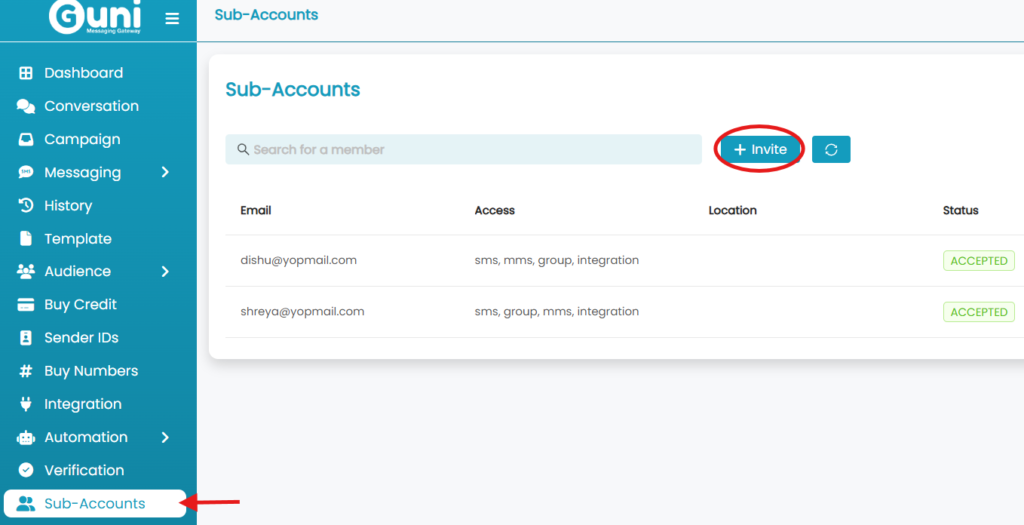
How to Create a Sub-Account:
Go to Left Menu, then Sub-Accounts, and click on Invite.
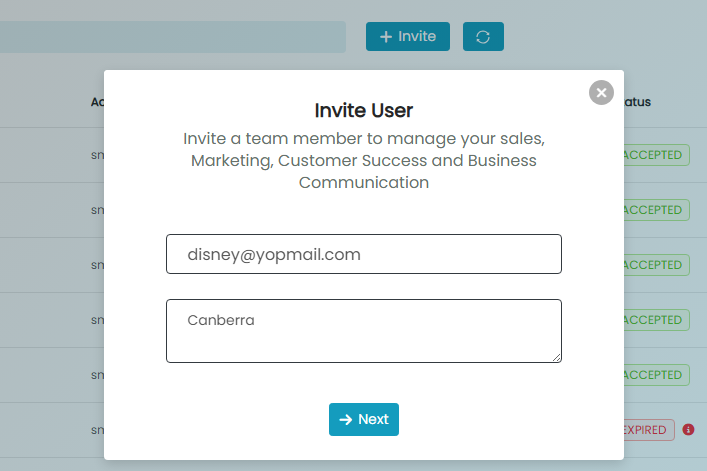
- Next, you will need to enter the sub-account email address, Location.
- Click ‘Next’.
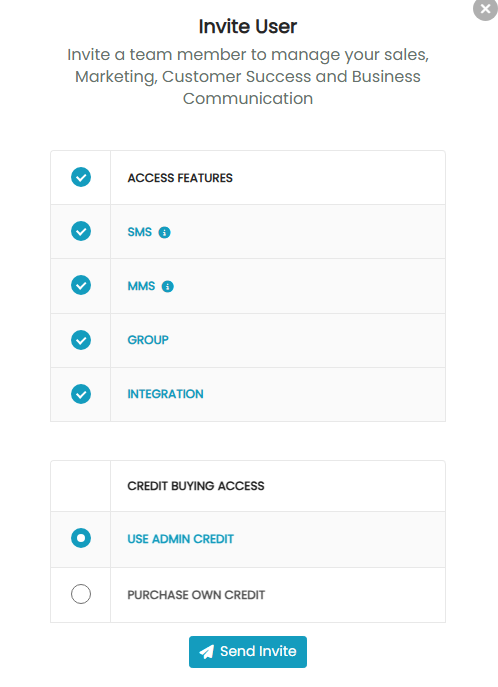
- Next, give permission.
- Select one out of ‘Purchase own Credit‘ or ‘Use Admin Credit‘.
- Click Send Invite.
- Sub-account users will receive an email to accept the invitation.
- Accept the invitation and complete profile by providing:
- First Name
- Last Name
- Password
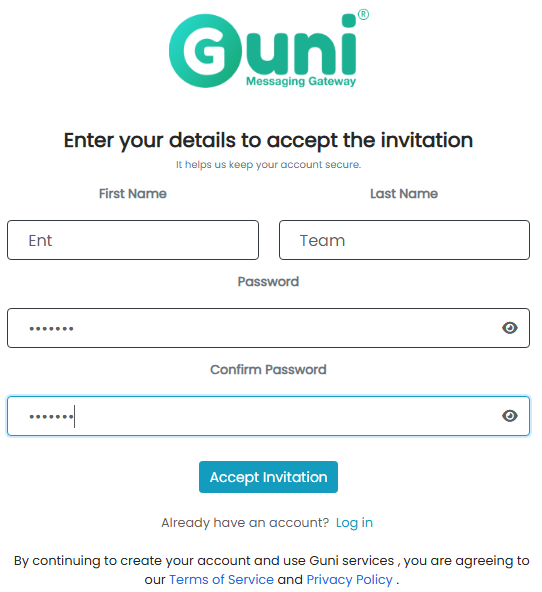
Share Sender IDs and Template – with sub-accounts
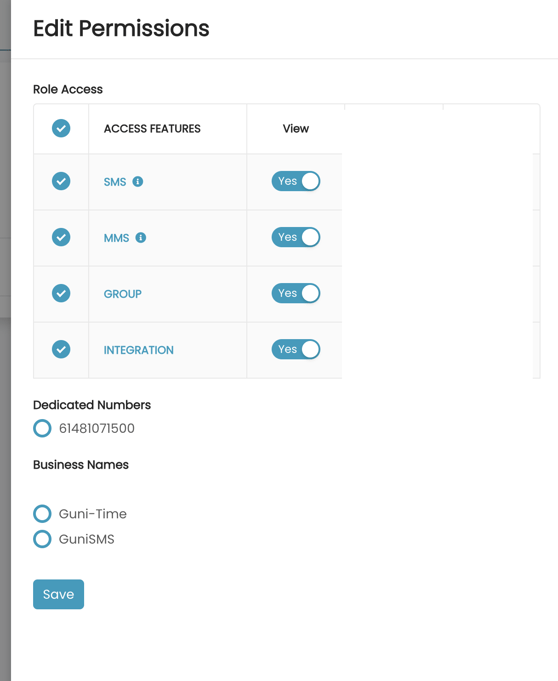
- Go to Left Menu, then Sub-Accounts, and click the edit icon from the user list.
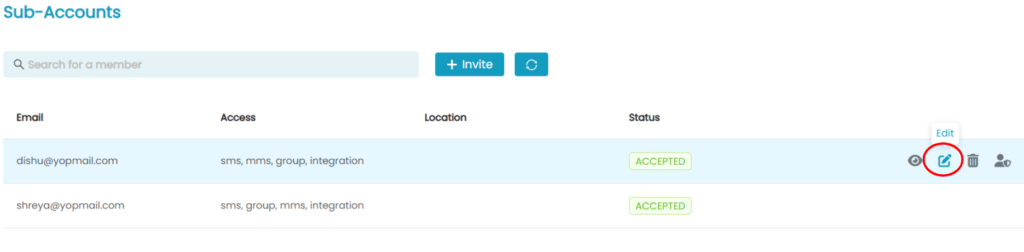
- Edit the permissions if needed.
- Tick the sender ID you wish to Assign with your Subaccount.
- Click on ‘Save‘.
- Selected Sender ID and permission will be provided to your subaccount.
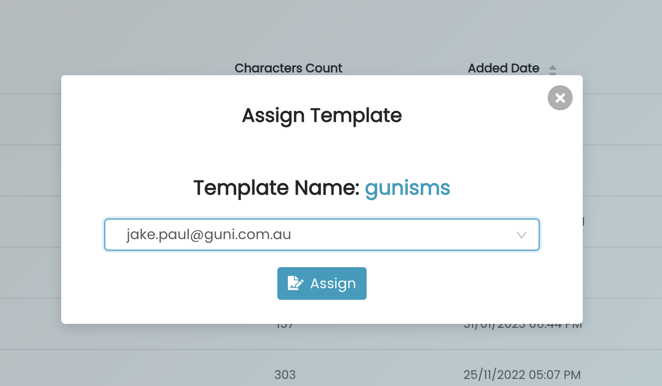
For Template share, admin go to Template option:
- Click ‘Assign‘ icon from the template list view.
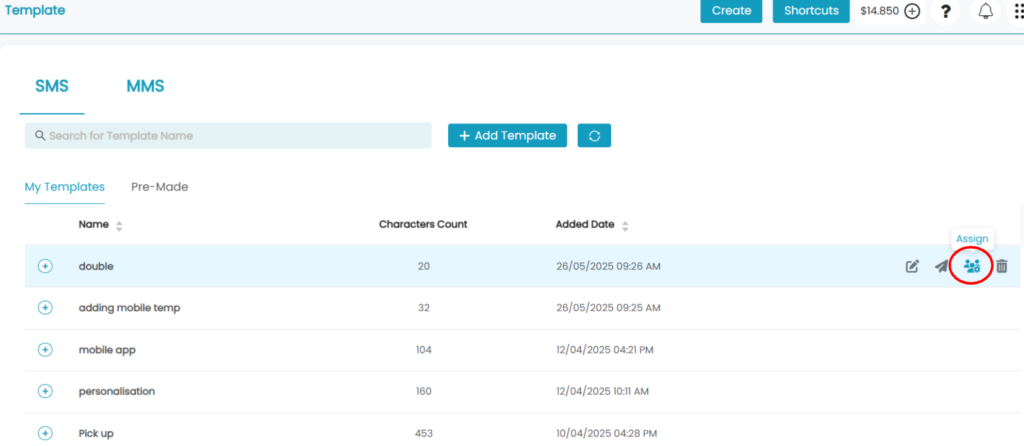
- Select sub-account from the drop-down list – click Assign
Logging in to Sub-Accounts
As an admin on the parent account, you can log into sub-accounts account and switch over back to admin account
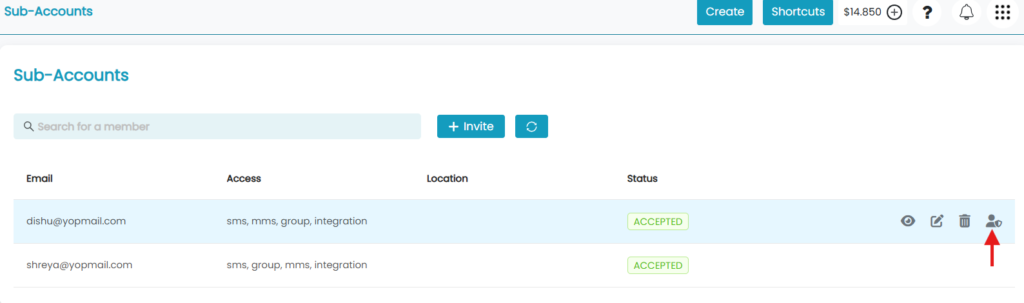
To use the account switcher, go to sub-accounts section from left menu section
- Click on Login-as icon from the sub-accounts list view.
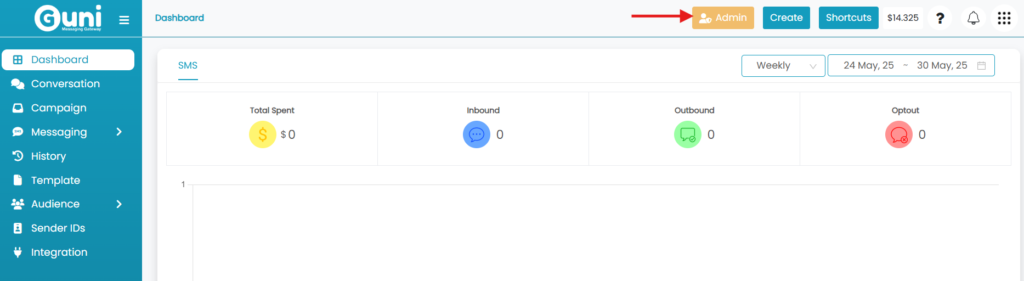
- To switch-over back to Admin, click on Admin button the top header.
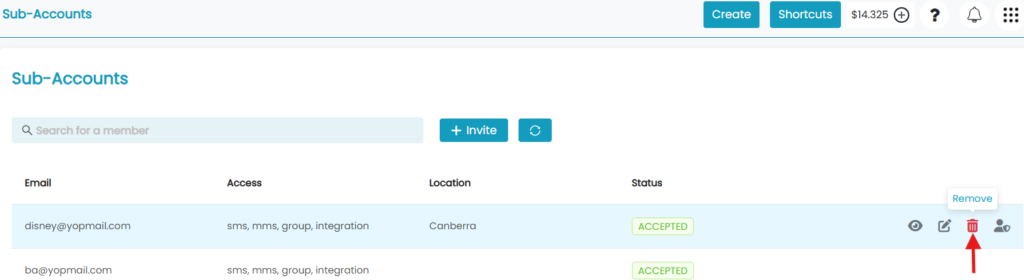
Delete Sub-Account
- Click on the remove icon from sub-account lists.
- Click on ‘Remove’ as confirmation.
- Subaccount will be removed.