Guni facilitates you to schedule your bulk and quick messages according to desirable Time Zone. Here are the details you will need to schedule one.
Scheduling Options –
Guni provides you one time scheduling option, accompanied with Reoccurring schedules in Campaign. These are-
- One Time Schedule – Allows you to schedule a quick message or campaign for one time sending.
- Reoccurrence Schedule – Allows you to schedule same campaign for multiple time sending. Like Once in a week for a month. These reoccurring schedules are available in
- Daily – Sends daily for the selected timeframe.
- Weekly – Sends on weekly durations for the selected timeframe.
- Monthly – Sends on monthly duration for selected timeframe.
Scheduling Quick Message –
Quick message can only be scheduled for one time sending. Here are the steps –
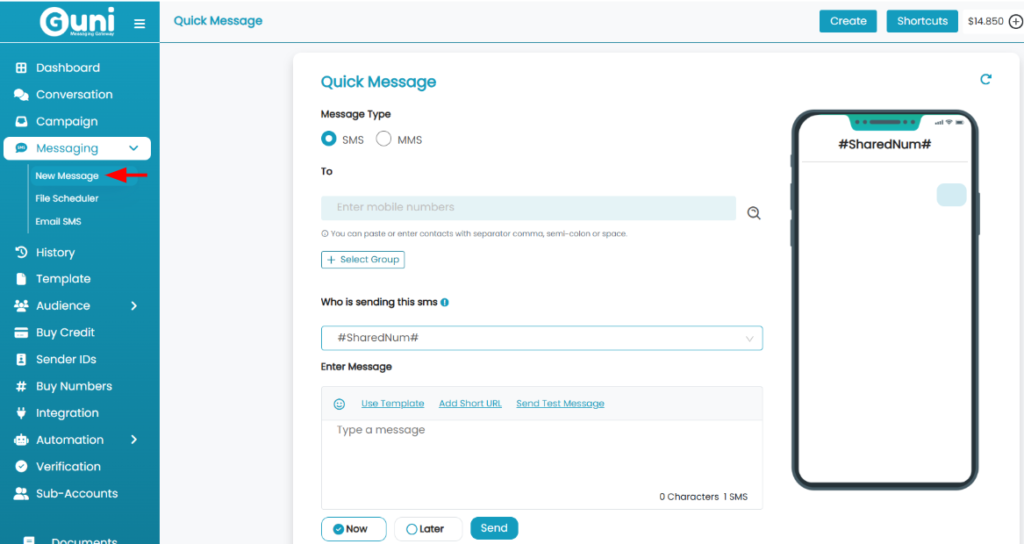
- Click on ‘Messaging‘ dropdown from menu.
- Select ‘New Message‘.
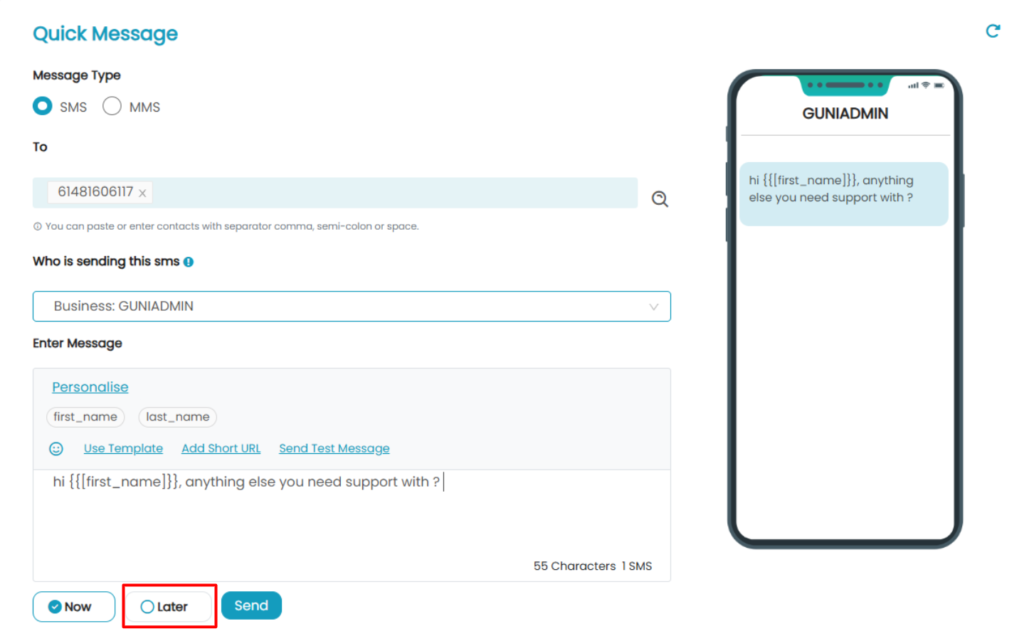
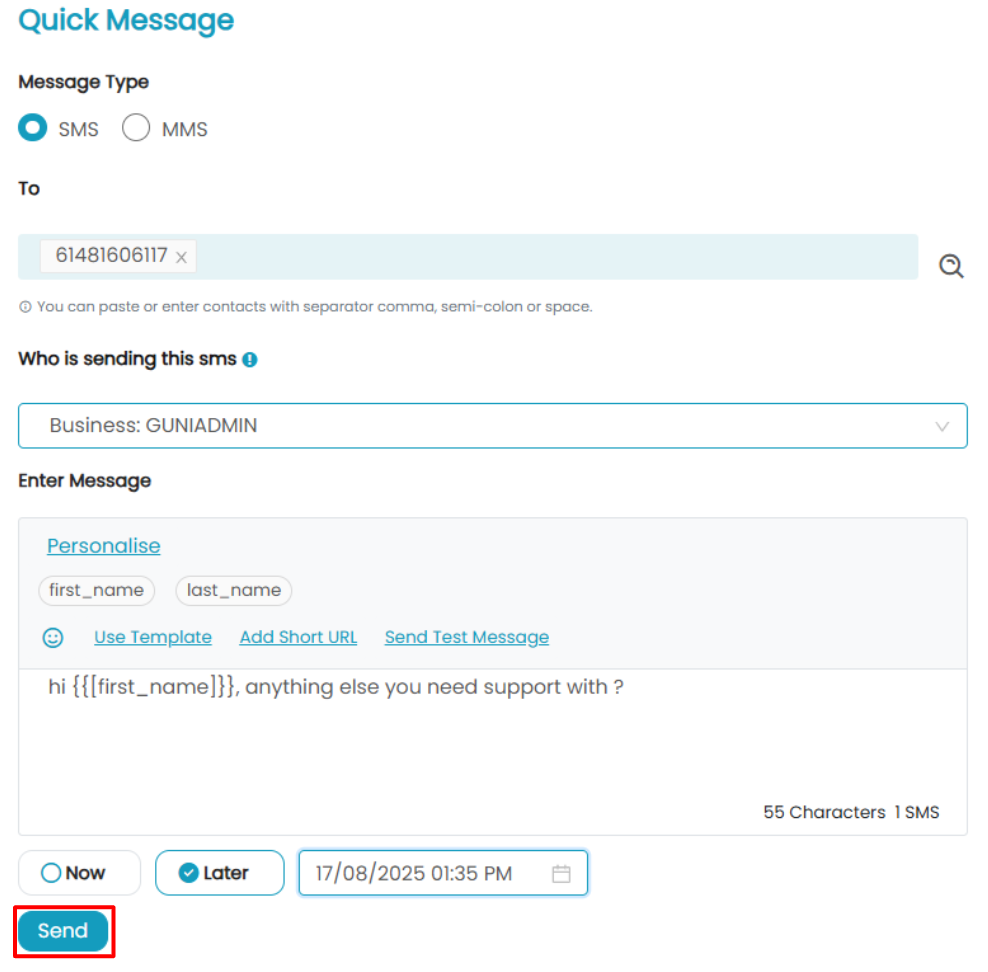
- Create your quick message as per requirement by
- Selecting type – SMS/MMS
- Providing audience – You can simply add receivers by pasting, typing , searching the contacts. You can also select groups if needed.
- Selecting Sender ID – Select the desired sender.
- Message Content – Type in your message content, you can add templates, short URL, Unicode. Adding Personalisation is possible for contacts searched by names or if you select a Group.
- Click on ‘Later’ for Scheduling the message.
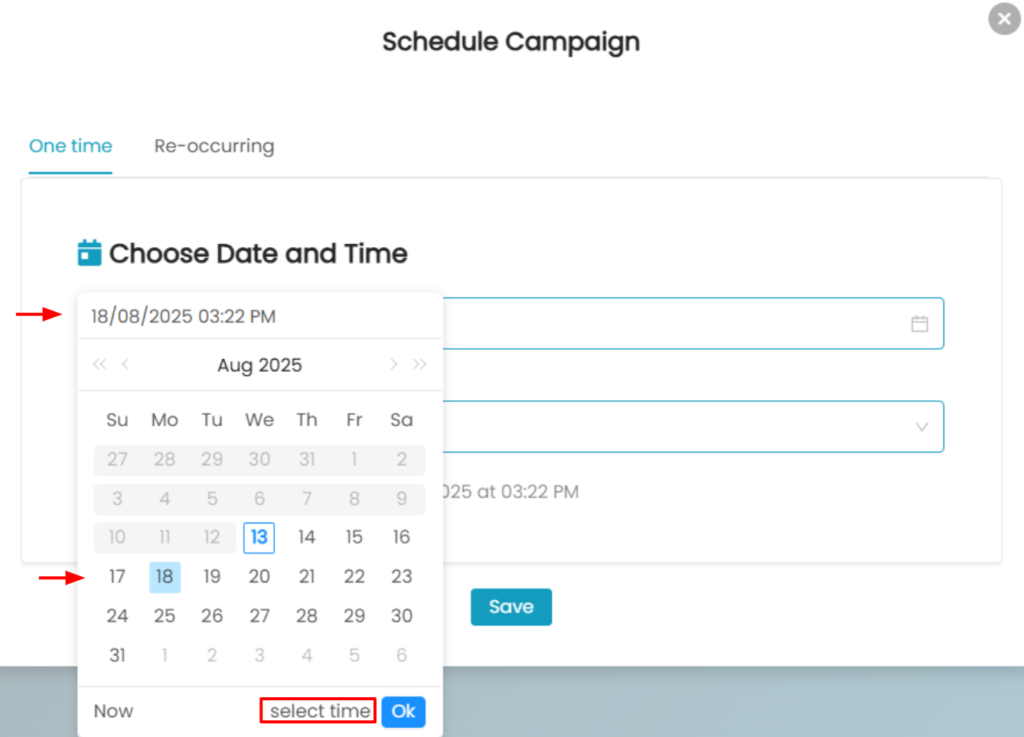
- A panel with your browser time zone will appear for scheduling.

- Click the panel for selecting the date & time you wish to send message at.
- Select date or manually type the date and time field as per schedule requirement.
Note – You can schedule message at least 5 min prior of sending time.
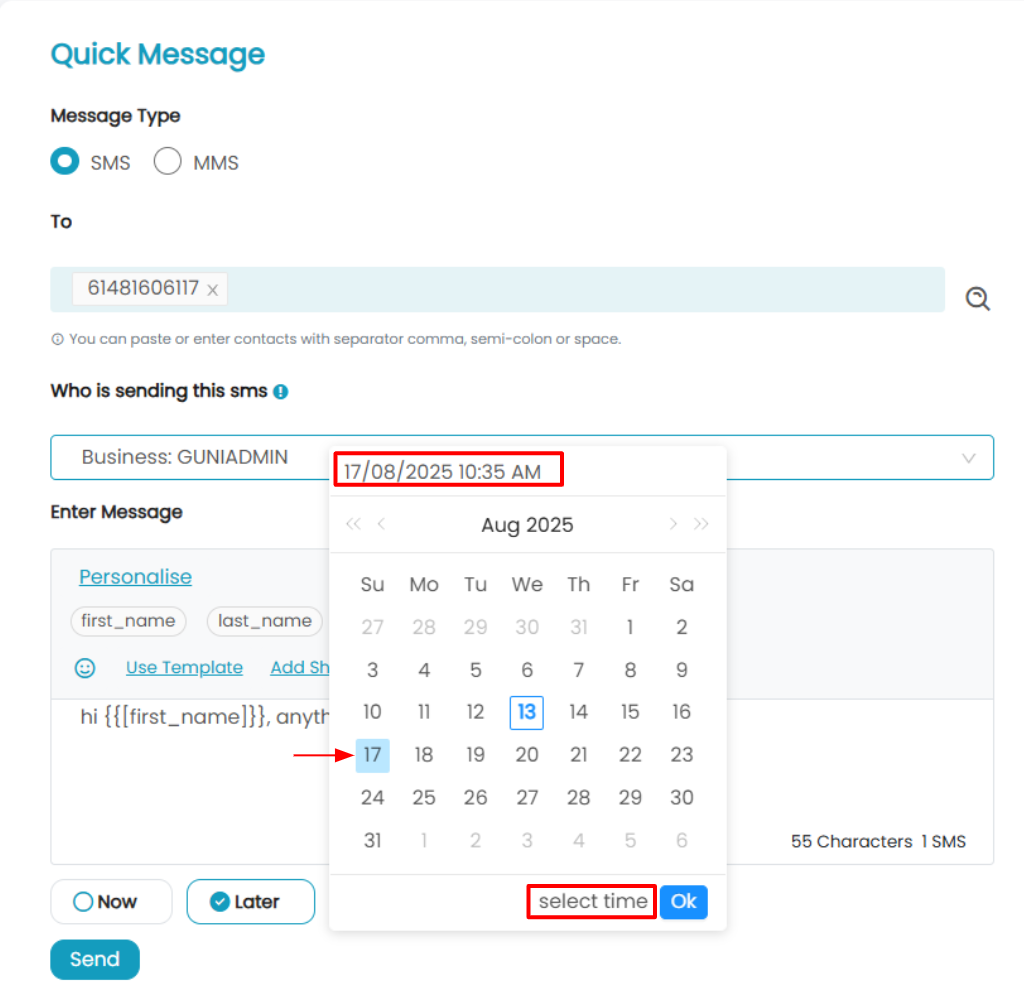
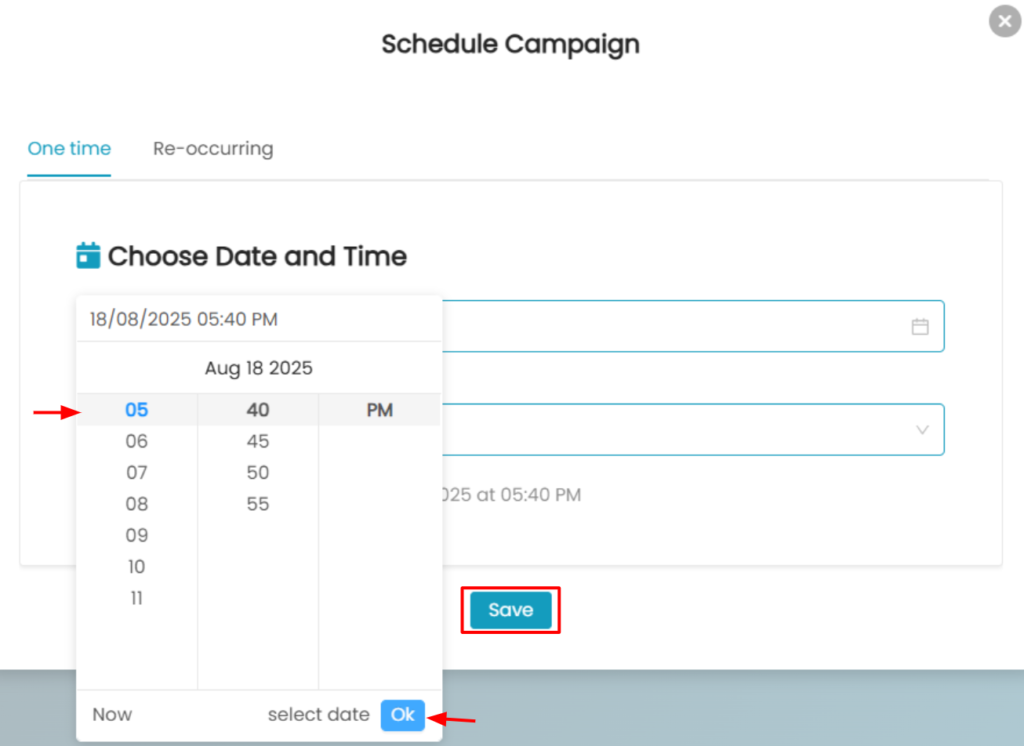
- Click on ‘Select time’ option if you wish to select time instead of typing.
- Click on ‘Select Date’ if you wish to change to select sending date.
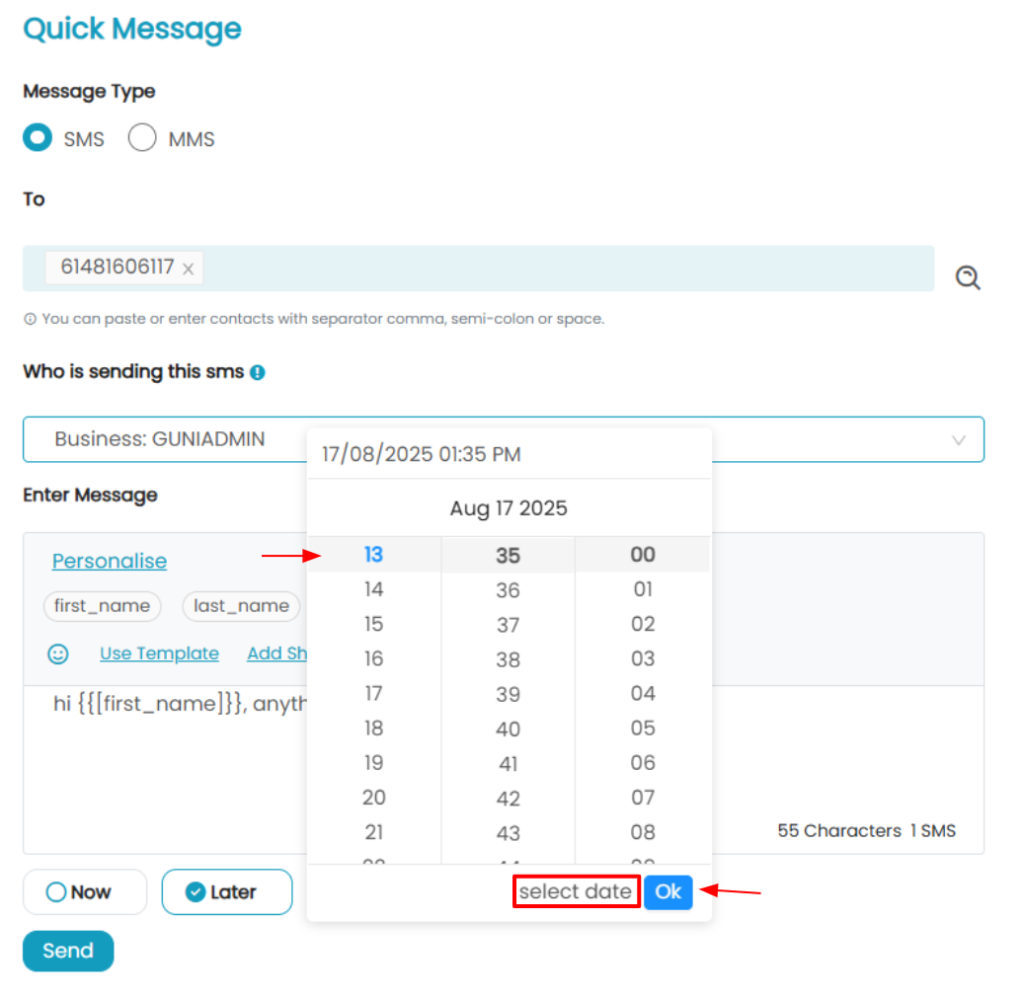
- Click on ‘Ok’ button when you have selected date and time as message schedule.
- Click on ‘Send‘ button to finalize the schedule sending.
- Your message will be ‘Scheduled’.
How to schedule a Campaign as ‘One Time Schedule’
- Click on ‘Campaign‘ from menu.
- Click on ‘Run Campaign’.
- Enter Campaign Medium, name , type and sender ID, click ‘Next’.
- Pick your Audience by selecting contact groups or pasting contacts and click ‘Next’. It is also possible to schedule with selected and filtered contacts.
- Enter you message , add short URL, template, Unicode according to requirement. You can not add personalisation for pasted contacts.
- Send Test Message.
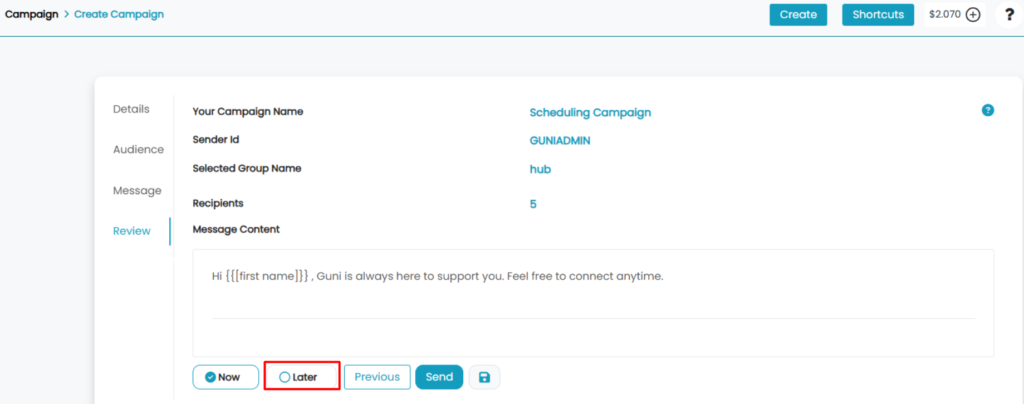
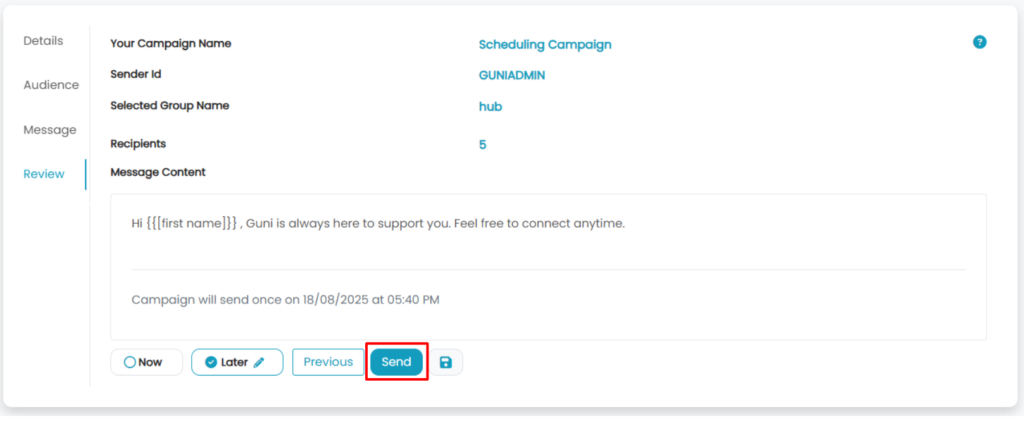
- Verify campaign details.
- Click on ‘Later’ to Schedule the campaign.
Need more detail about Campaign – Here!
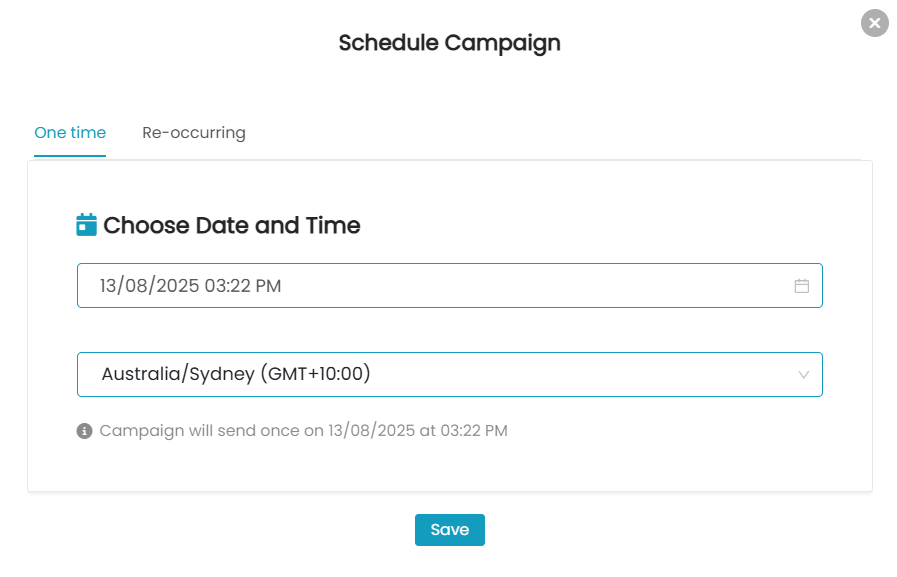
- A panel will appear for scheduling.
- Your default Time Zone from settings will be selected by default for message schedule.
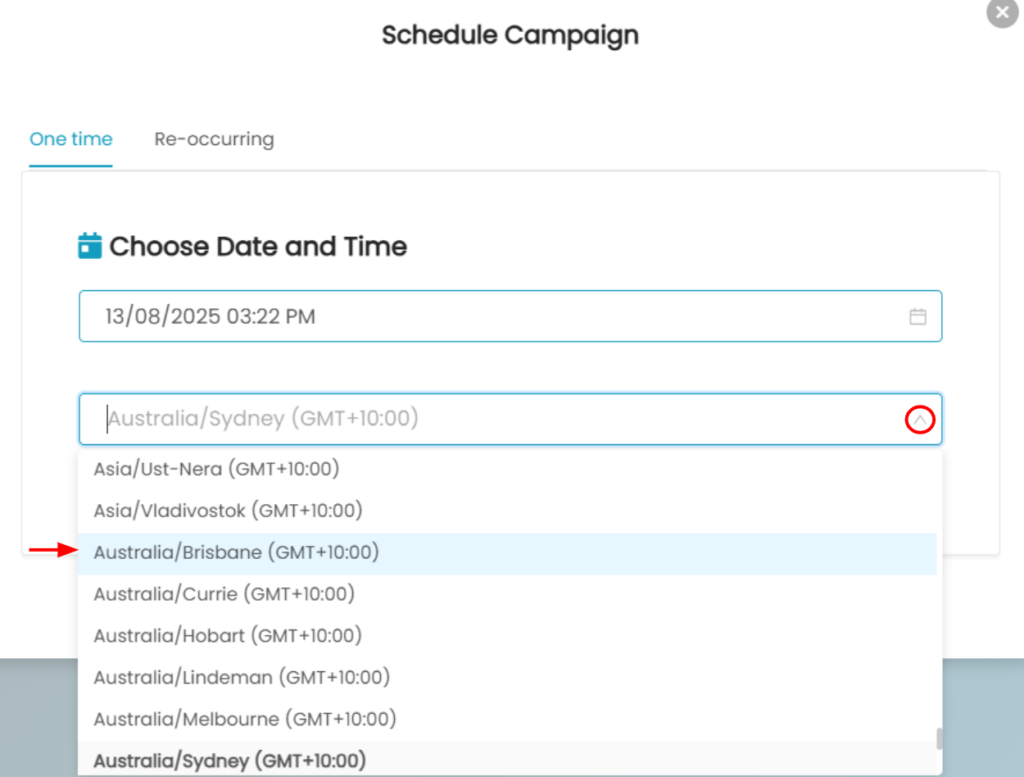
- Click on Time Zone dropdown if you wish to change it, and select the desired form the menu.
- Now, change date and time by clicking on the schedule time displayed.
- You can type it yourself as well.
- Click on ‘Ok’ after selecting campaign schedule.
- Click ‘Save’ to save the schedule.
You can schedule a campaign at least 5 min prior of sending time.
- Click on ‘Send’ to send the campaign Schedule.
- Click on ‘Send Schedule’ from the panel that appeared.
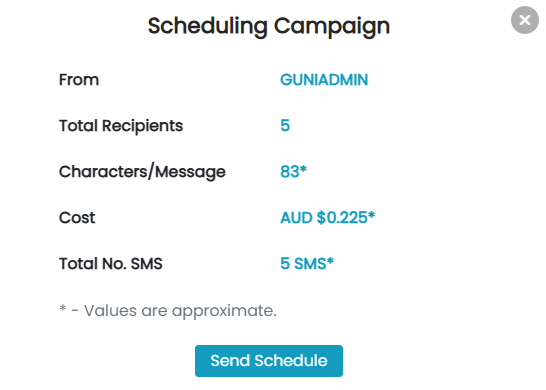
- Click on ‘OK’ as confirmation.
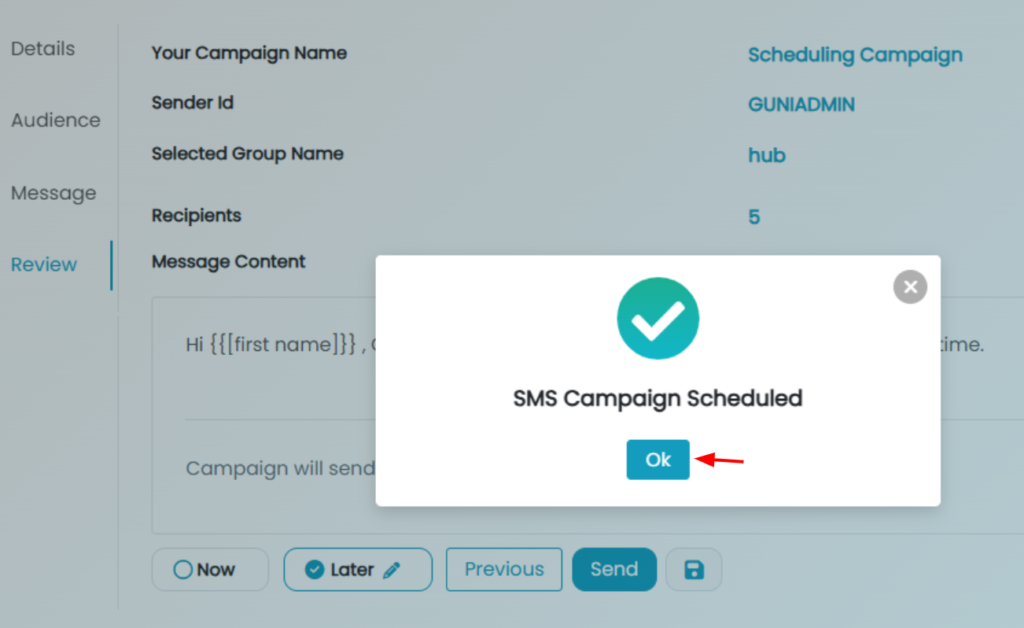
- Your Campaigned will be scheduled for one time.
Want to send reoccurring campaign – Here!
Wanna Send Campaign to Selected Contacts? – Here