Guni facilitates you to integrate and connect with several CRMs so that you can use them side by side with Guni. Active Campaign is one of those CRMs.
Log in to your Active Campaign
On your ActiveCampaign dashboard, create an Automation.
- Open your Active Campaign account.
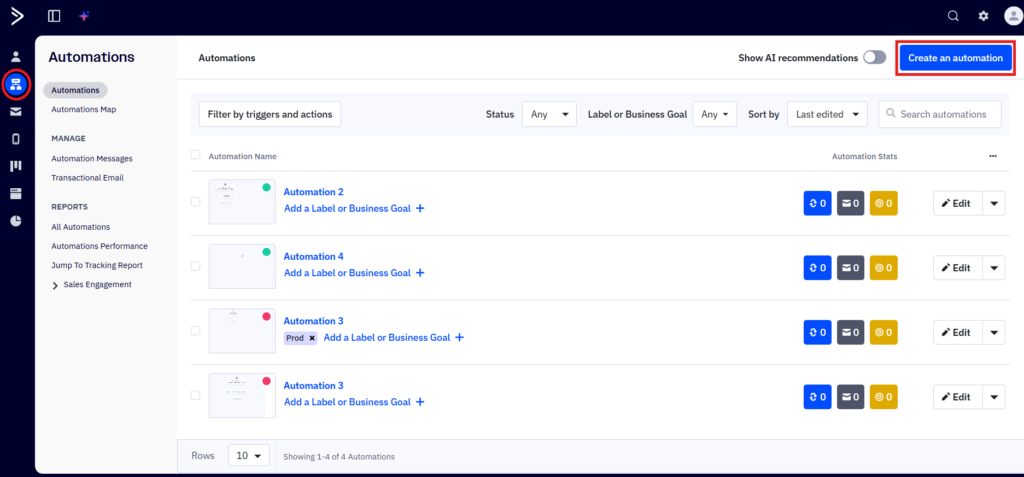
- Select ‘Automations‘ from the navigation menu.
- Click on ‘Create an automation‘.
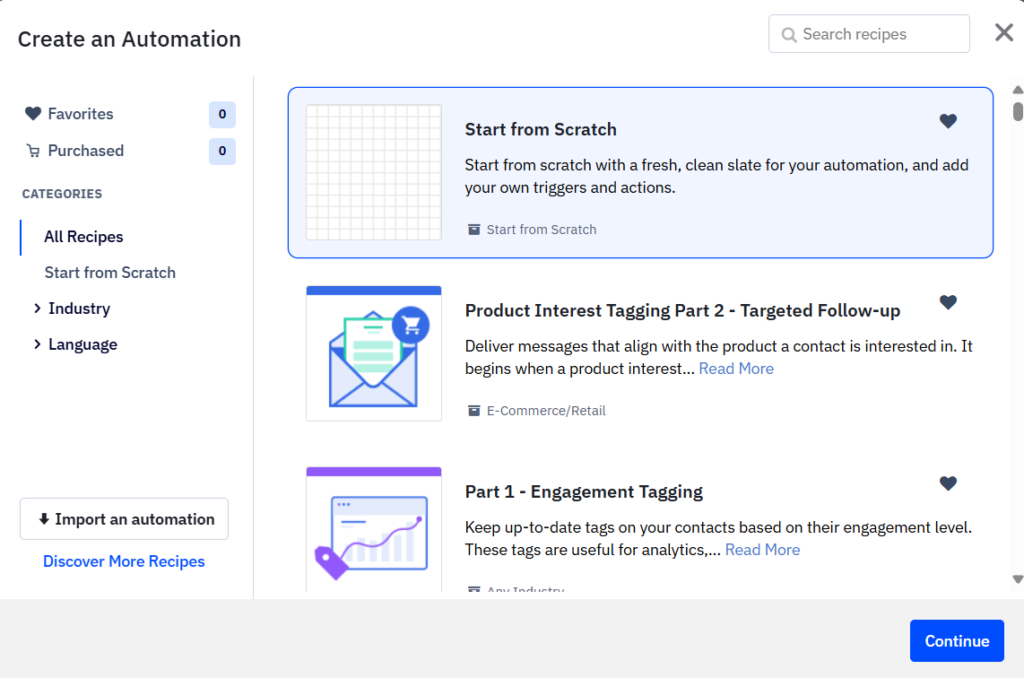
- Choose a Recipe for your workflow.
Here we will be creating from Scratch, you can choose any.
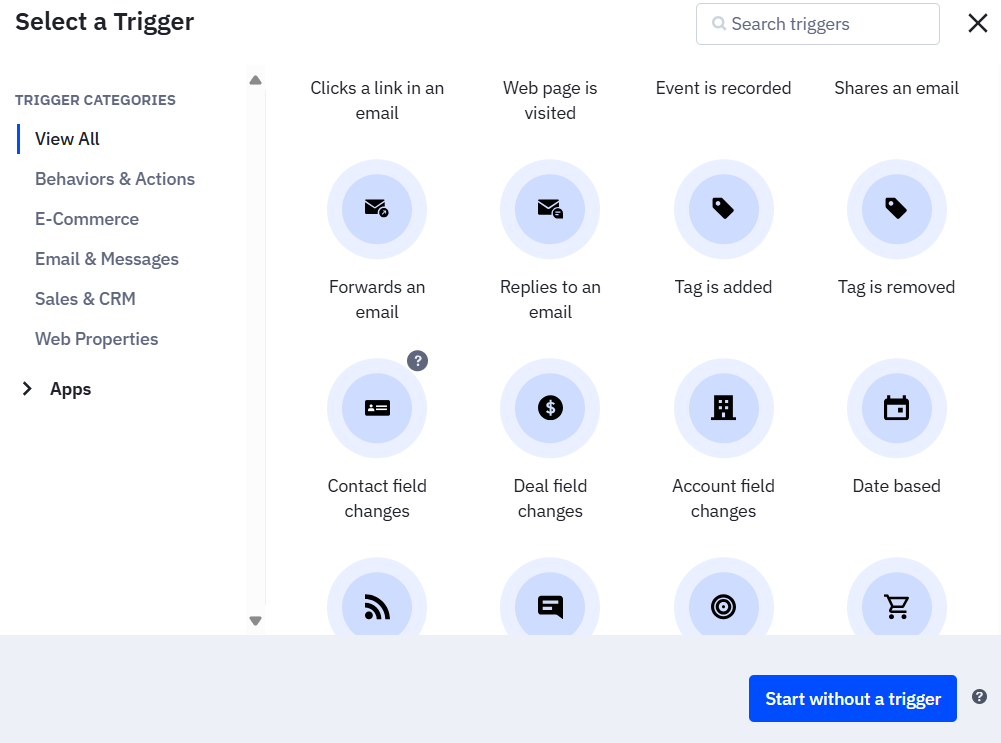
- Add Trigger for Workflow.
- Choose the Trigger condition.
We will be choosing Contact field changes as trigger, you can choose any.
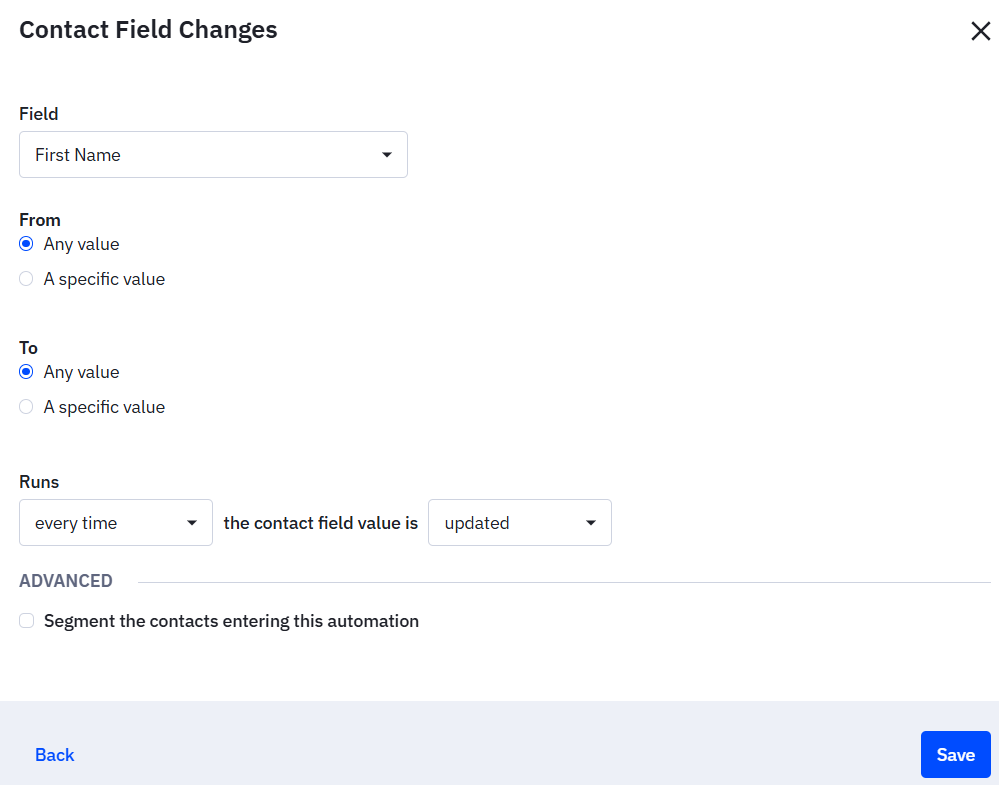
- Provide the changes for the chosen field as trigger.
- Click on ‘Save’.
- You can add more triggers if needed.
- Click on ‘+’ to add action.
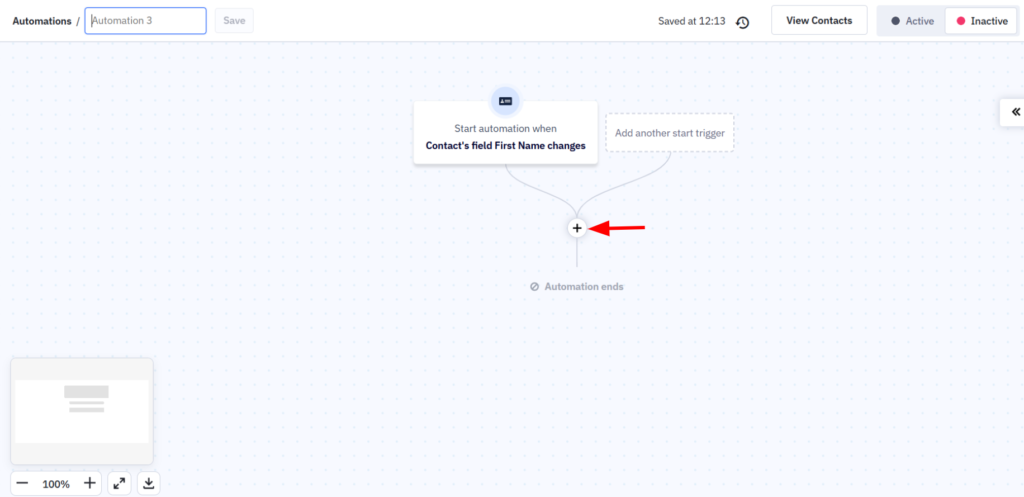
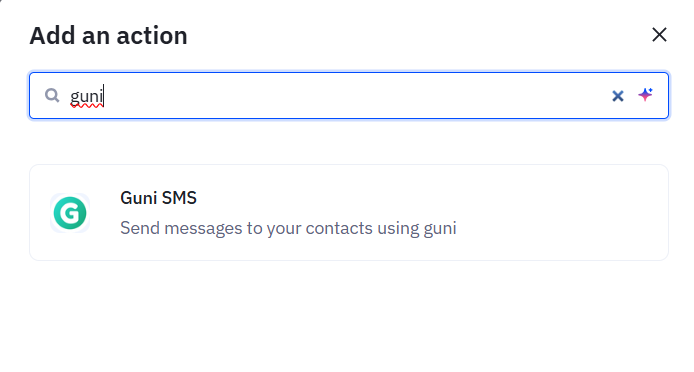
- Add An Action panel will appear.
- Search ‘Guni SMS’ in it.
- You will find ‘Guni SMS’ app, click on it.
- Enter your account ‘API token’.
- Click on ‘Connect’.
Generate Guni API Token

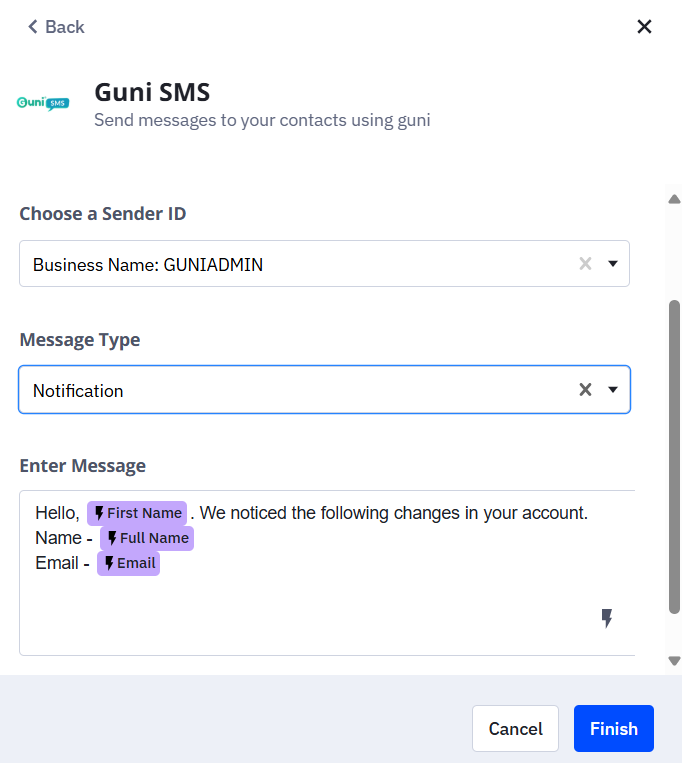
- Choose Sender ID as your message sender. (Request sender-ID)
- Choose the message type
- Promotional – Choose this for not sending to opted out contacts and adding a Opt-out link or reply STOP to Opt-out message.
- Notification – Choose this for sending to any contact opted-out or not. Opt-out link or reply STOP message will not be included.
- Enter the message you need to send as action.
- Add personalisation if needed.
- Click on ‘Finish’.
- You can Add more actions if needed.
- Activate your Workflow if you need it working the right way.
- Otherwise, you can do that later when needed.
- You can Name the Workflow as well.
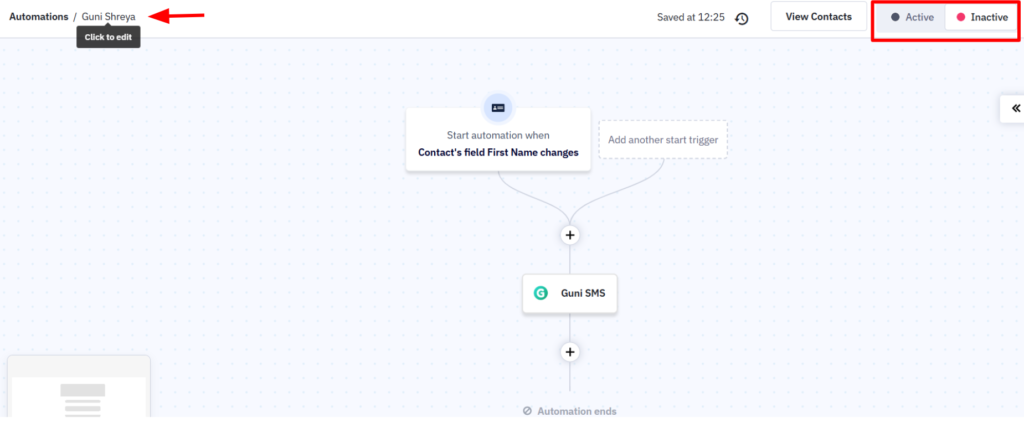
- Your workflow is ready and will work as per your configuration.