Create SMS campaign using Group
Guni allows you to send messages to contact groups from the web portal.
The options to send SMS campaign to a group are:
Step 1- Start Campaign
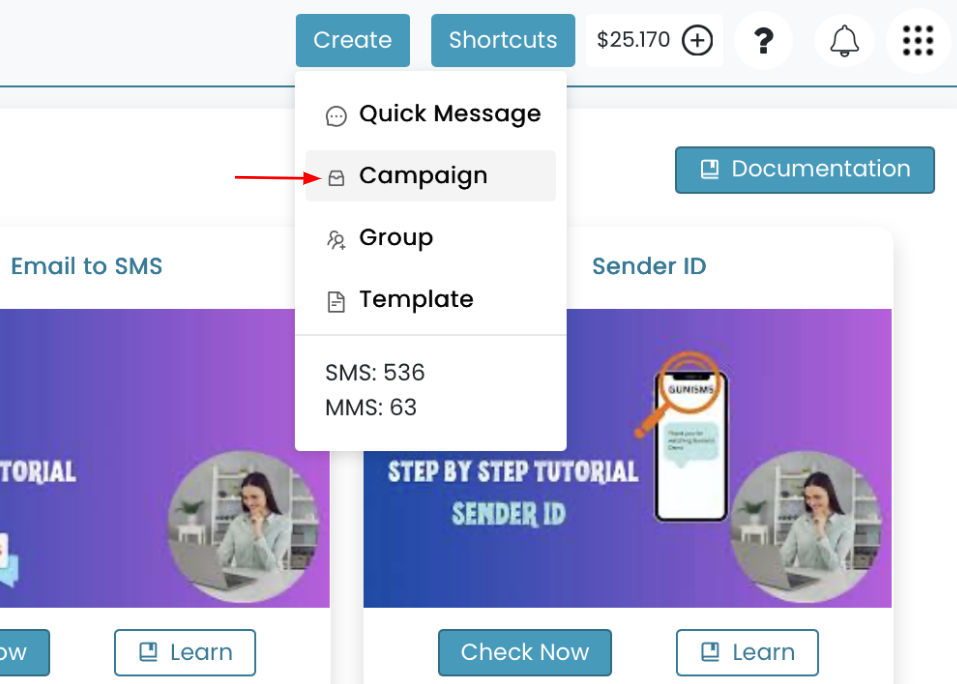
Option 1 – Send campaign from Header shortcut
- Click on Create from the top right header., then select Campaign.
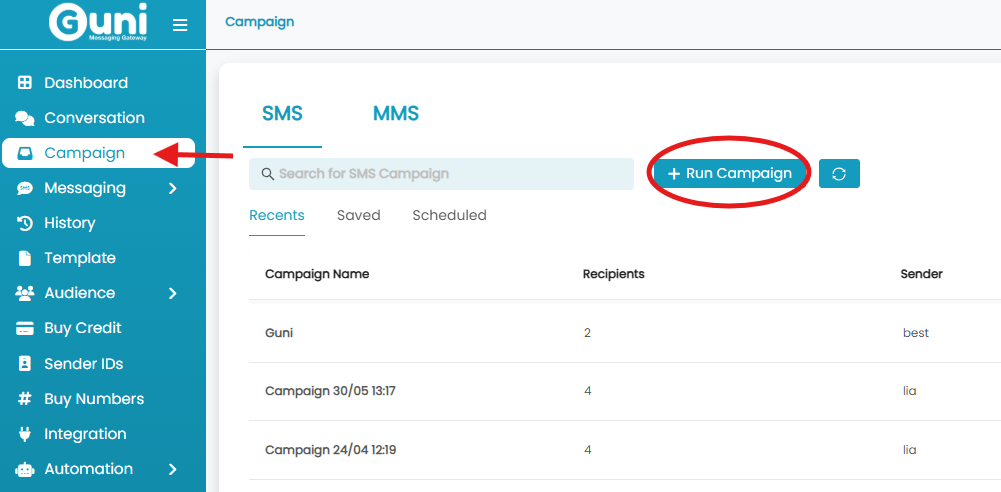
Option 2 – Send campaign from Campaign page
- Go > Campaign > Run Campaign
- Click Run Campaign.
Option 3 – Send campaign from Group Page
- Click Audience – > Group

- Click on ‘ Run Campaign’ option from side icons

or
- Enter a group, click on ‘Actions’ – > ‘Run Campaign’.

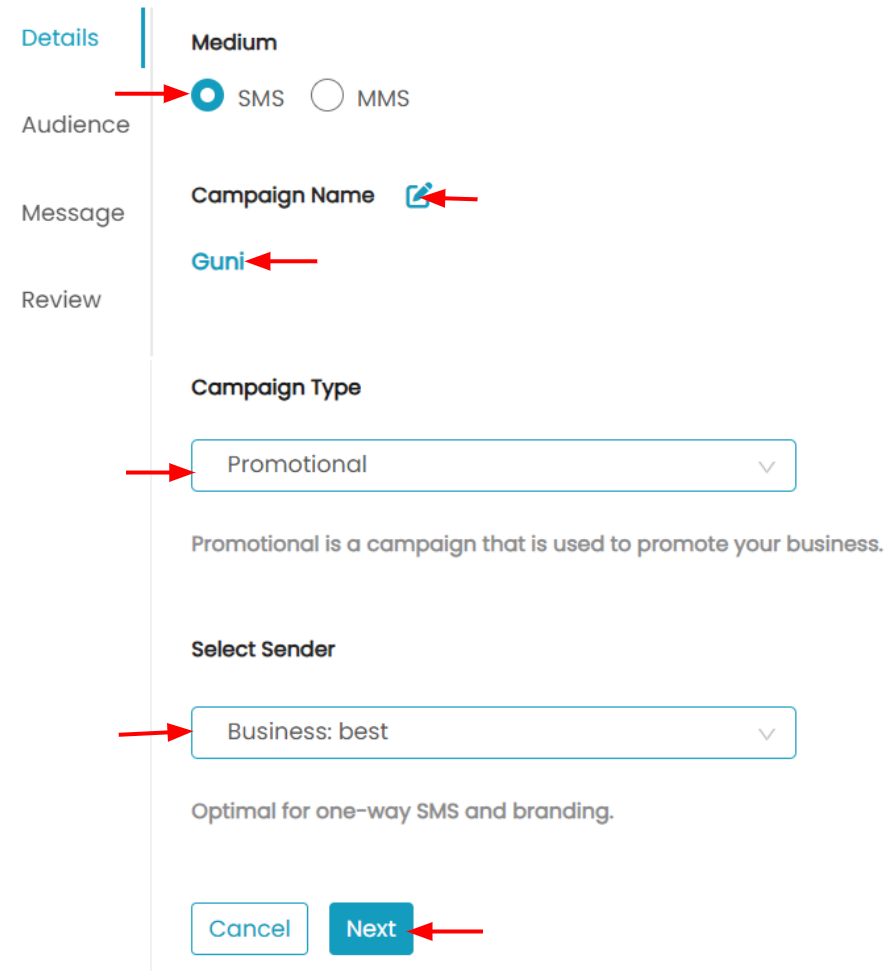
Step 2: Campaign Details
- Select ‘Medium’ as SMS.
- Click on ‘Edit’ icon.
- Enter ‘Campaign Name’.
- Select ‘Campaign Type’:
- Promotional: This is used to market messages it excludes opt-out contacts.
- Notification: This is used to notify messages, including opt-out contacts.
- Choose ‘Sender ID’ for Campaign, they are:
- #SharedNum#: Our system will assign numbers from a random number pool.
- Dedicated number: This is a unique number used by your account. You will need to buy a virtual number from us for use. Your customers will get messages from the same number.
- Business Name: You can use a dynamic name such as “Guni”.
- Personal Number: Number that you have registered with Guni account.
- Click on ‘Next’.
Step 3: Select Audience
- Check ‘Choose Group(s)’ option.
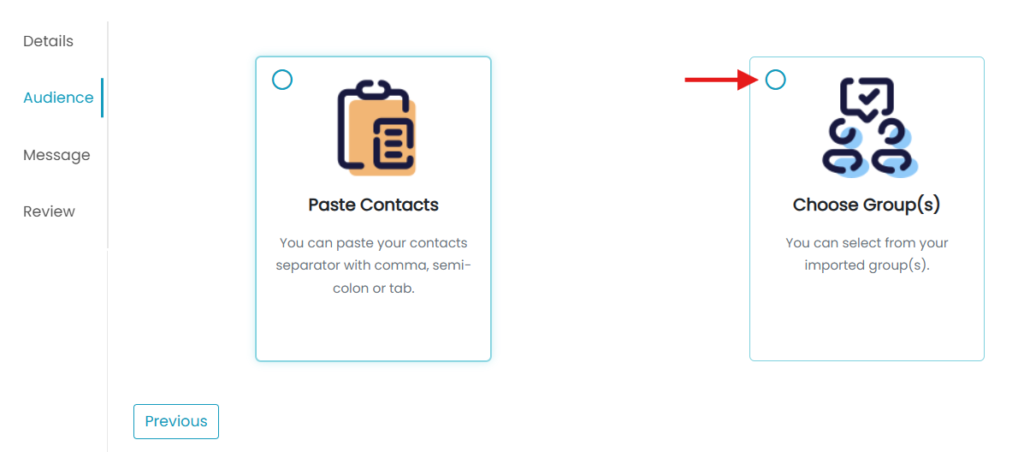
- Select group/groups as per requirement.
- Click ‘Next’.
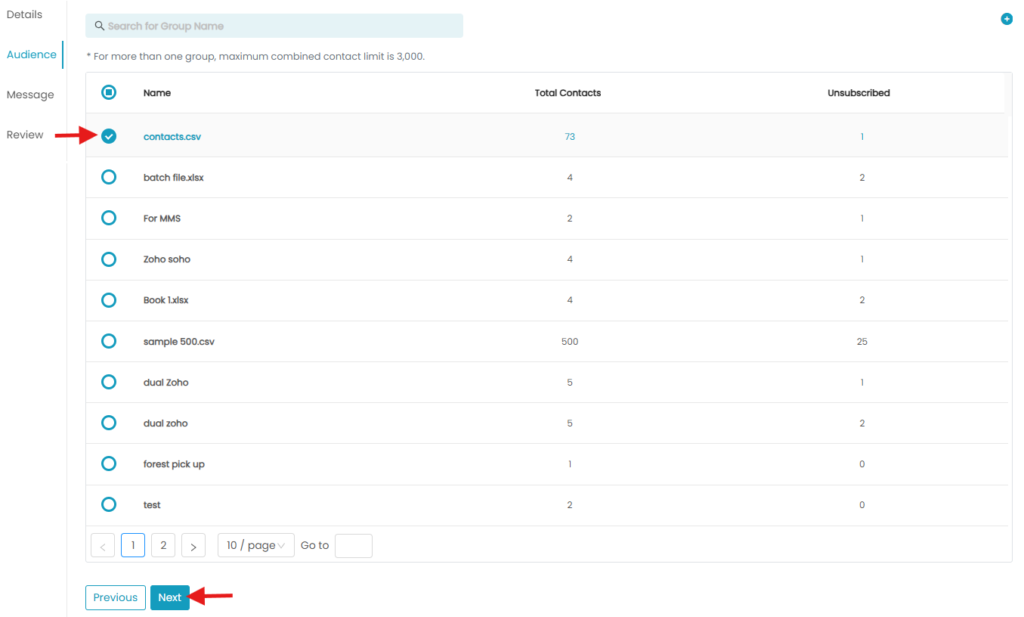
No need to select audience if you started your campaign from the audience group.
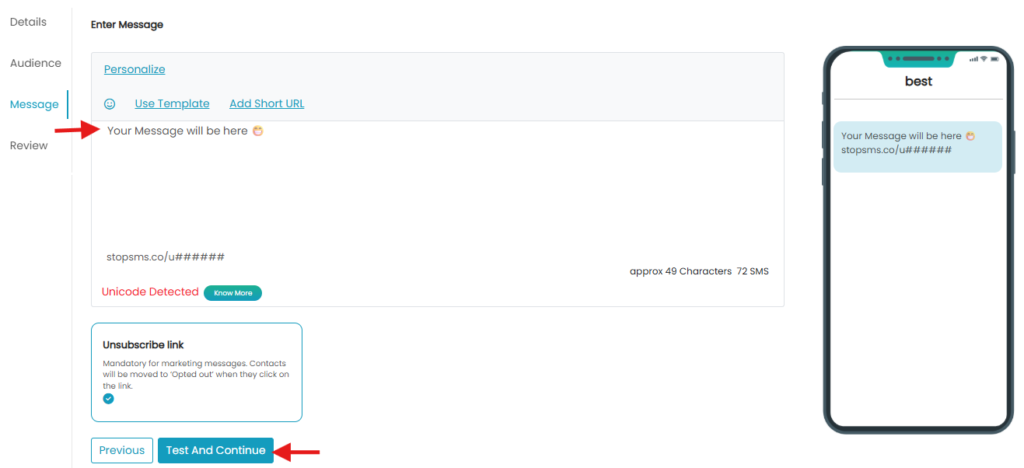
Step 3: Message Content
- Type the required message, you can add:
- Personalise:
Click on Personalise option and select the contact field to personalise your message. - Template:
Select from a predefined template. - Add Short URL:
Click on the option, enter your long URL in the input box, and our platform will convert the long URL into short URL. - Opt-out:
By default, opt-out is added to your message. Remove opt-out text by simply unchecking the box. Reply to opt-out – applicable for Shared number and Dedicated number. - stopsms.co:
applicable for business name and personal number
- Personalise:
- Click on ‘Test and Continue’ to send Test Message.
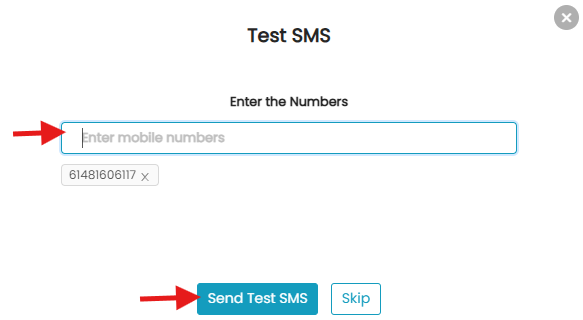
- Enter the desired contact number for test message in the modal appeared.
- Click on ‘Send Test SMS’, then ‘ok’ as confirmation.
- Click on ‘Next’ from Message typing page.
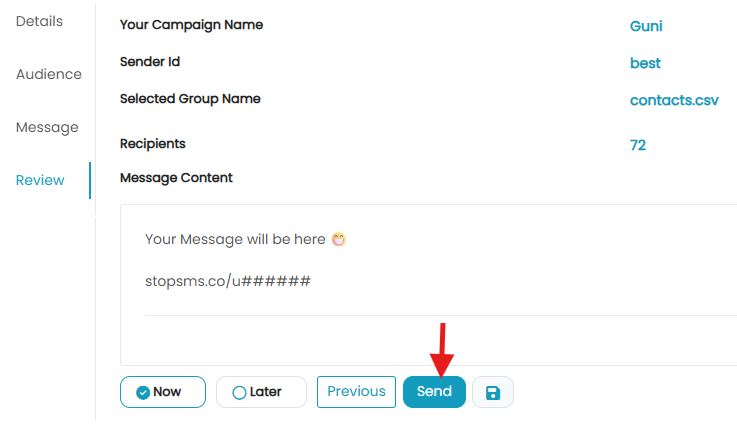
Step 4: Campaign Review
- Verify your Campaign details.
- Click on ‘Send’.
- Verify Campaign Overview.
- Click on ‘send Campaign’.
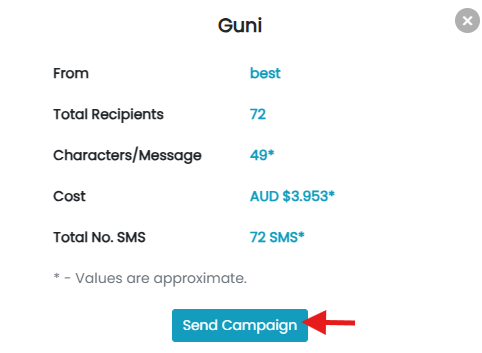
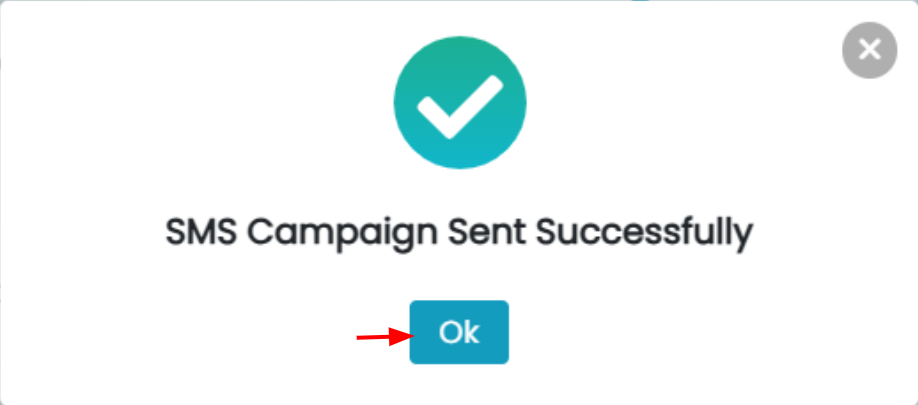
- Wait for confirmation message.
Send now or later: To schedule your message click Later and select date/time. You may not see this option if you are a new user or are sending to multiple groups. Please contact Guni team for activation of this feature.
- Send Campaign: you send your message now.
- Schedule Campaign: Click on ‘Later’ to schedule it, then click ‘Send’.
- Save for later: If you wish to save for later use.

- To view Saved campaigns
GO Campaign > Saved.
Use Saved Campaigns:
- Click Campaign-> saved.
- Click on dots in ‘Actions’.
- A side view will appear, click on’ Use’ from that.
Want to check reports ? – Here