Guni allows you to integrate with several CRM platforms in order to provide ease in every single way possible. By integrating with GHL you can start conversation, send quick message and can link workflow with Guni.
Connect GHL with your Guni Account
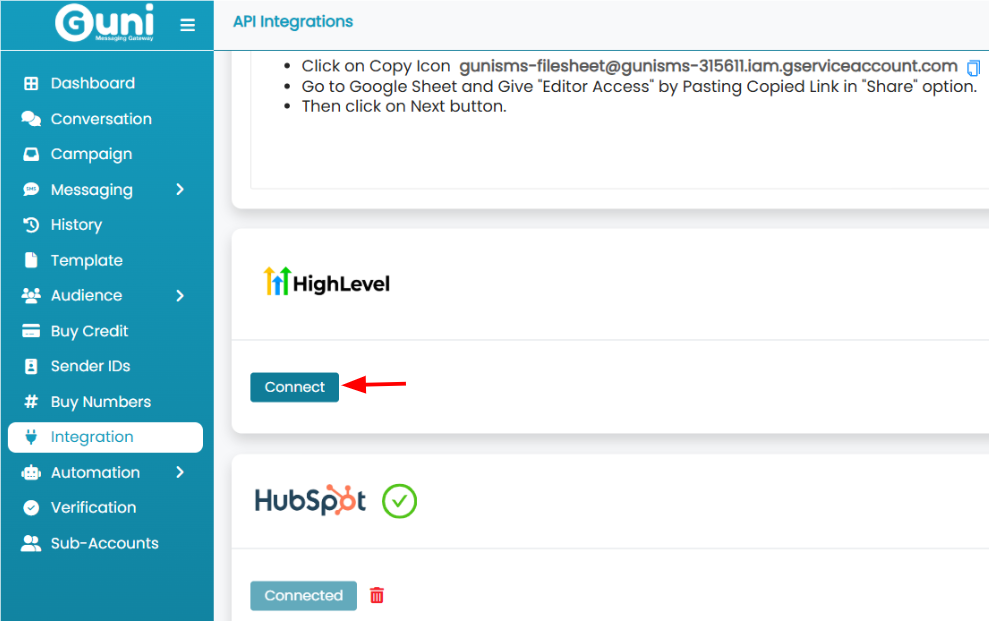
- Open Guni Integration page.
- Click on ‘Connect’
- Log in to your GHL account.
- Click on ‘Next‘ for the pop up appeared.
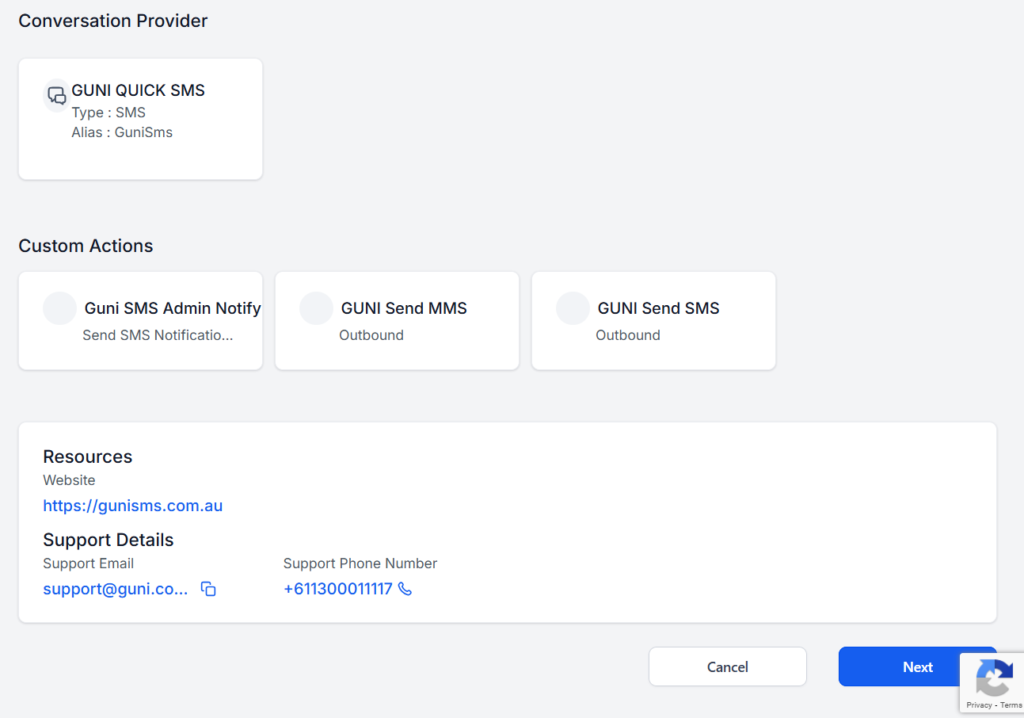
- Choose the account/subaccount.
- Check the Guni app for install.
- Click on ‘Proceed’.

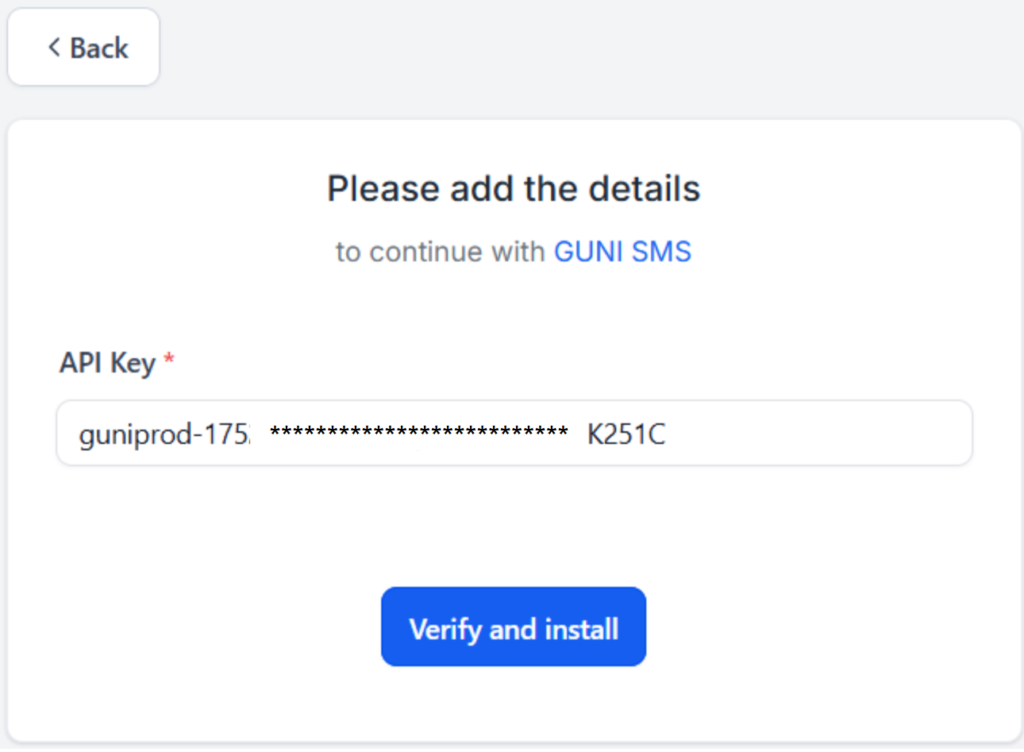
- Provide the Api Key.
- Click ‘Verify and Install‘.
How to generate API Token?
- Your account is connected to GHL.
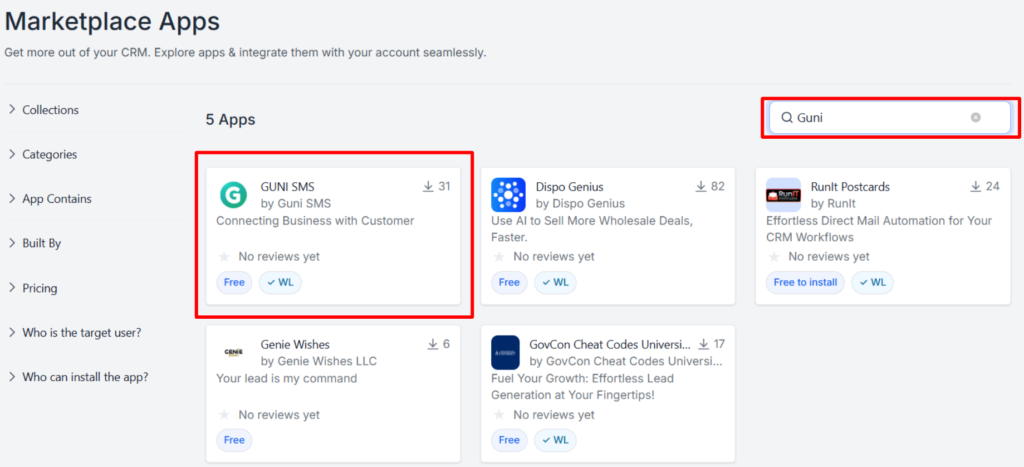
You can install the app using the same steps from GHL Marketplace as well.
- Now you can start sending messages.
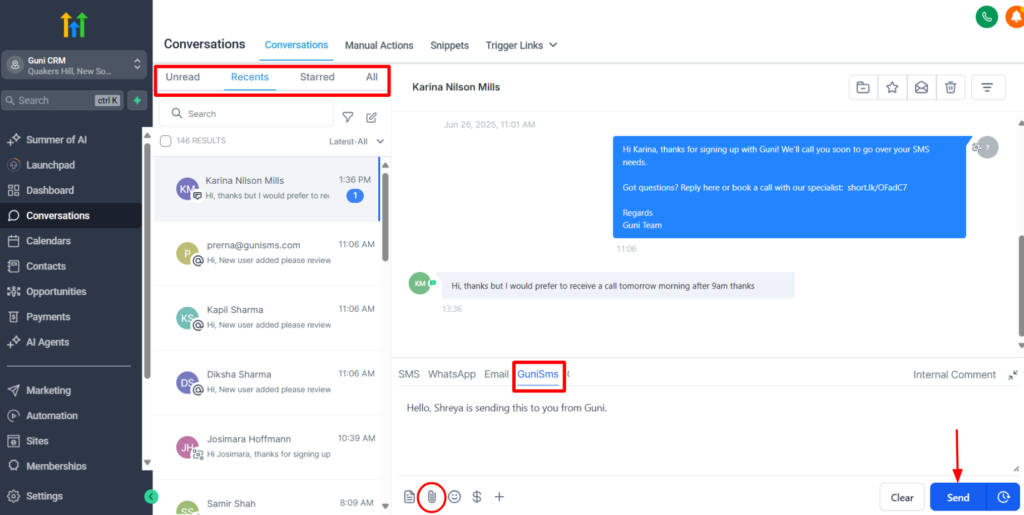
Start Quick Message/Conversation
- Log in to your GHL account.
- Open conversation page.
- Find the contact you want to send message to/ converse with.
- Select ‘GuniSms’ tab.
- Type the message.
- Attach files if require sending an MMS.
- Click
- Send – To send now.
- Schedule icon – To schedule message sending time.
- All sent and received messages will be displayed in conversation and Guni history.
Message sender will be your default sender ID set at Guni account.
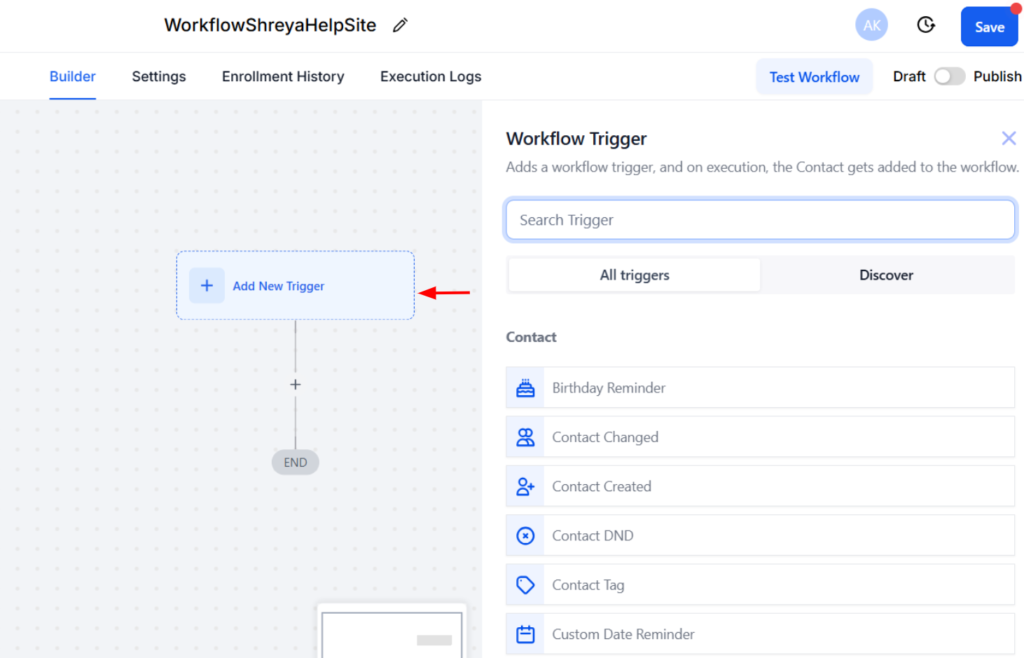
Workflow
- Open ‘Automation’ page from navigation menu.
- Click on Create Workflow
- Start from Scratch – Create full structure by yourself.
- Select a Recipe – Use an already created structure.
We will be creating workflow from scratch here; you can create it by any of the options.

- Add a Trigger for your workflow.
- Search for the required trigger.
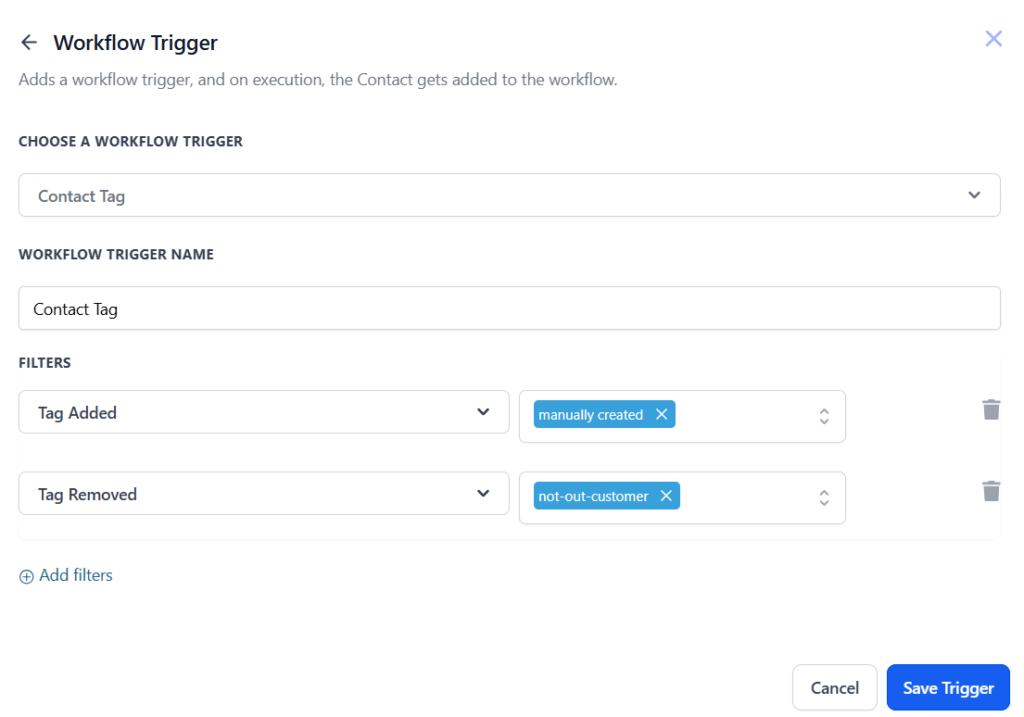
We are using Contact Tag as the trigger; you can choose any.
- Type the Workflow Trigger Name.
- Add Filters for the trigger if required.
- Click on ‘Save Trigger’.
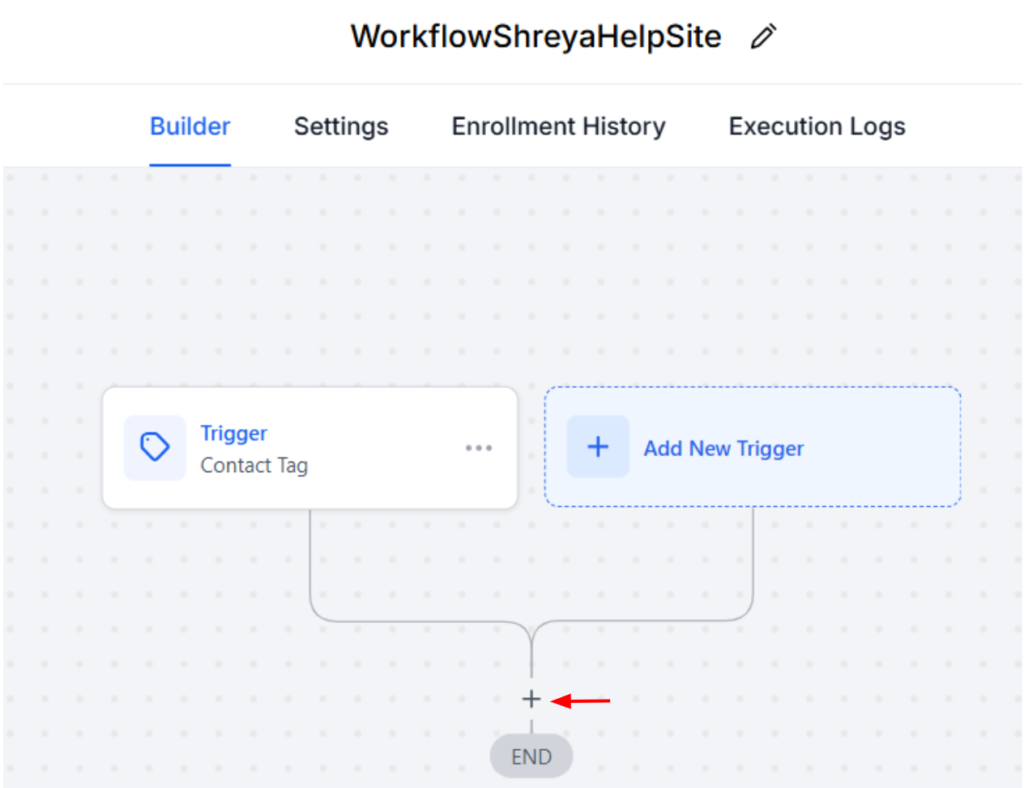
- You can add more than one triggers if required.
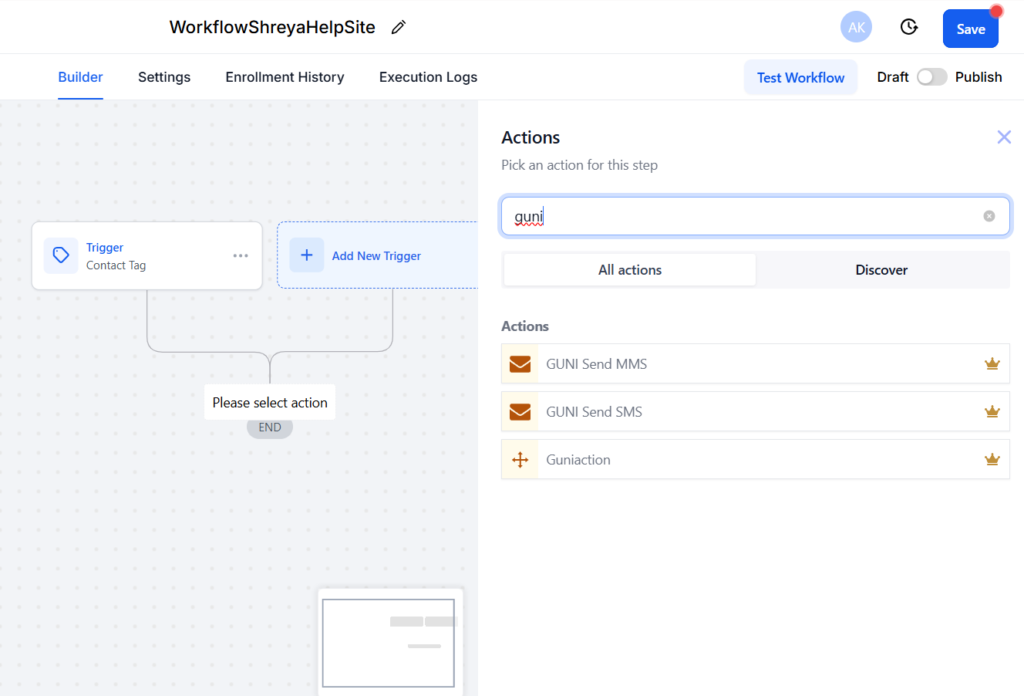
- Click ‘+’ to Add Action.
- Search for ‘Guni’ in search bar for actions.
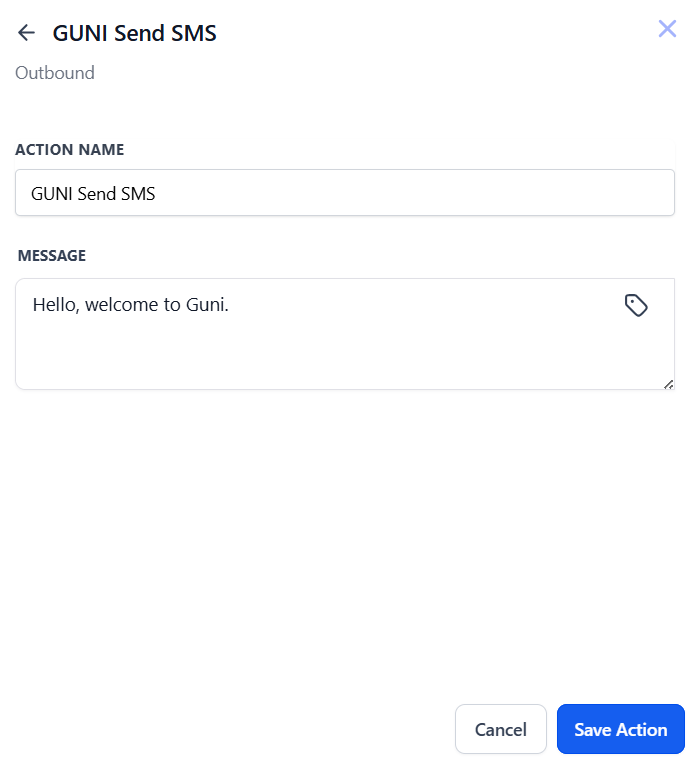
- Add the required Action.
- Provide message or requirements according to your action.
- Click on ‘Save Action’.
- Publish the workflow in order to use it.
- Save it, if you wish to publish it later.

- Your Workflow is ready and will follow conditions you set.