Guni allows you to integrate with various platforms and CRMs to provide you ease in every way possible. To integrate with HubSpot, follow this process –
Connect Guni with HubSpot
- login your Guni account at Guni Platform.
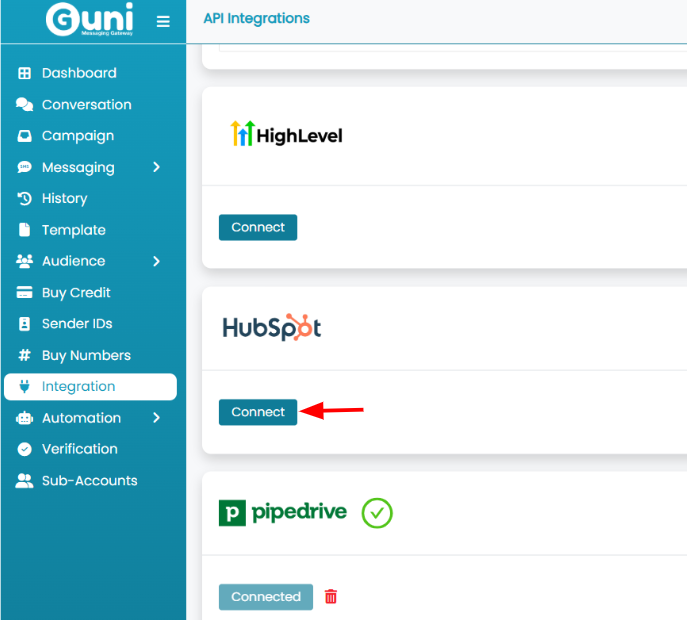
- Open Integration page.
- Scroll down to ‘HubSpot’ and click the connect button.
- Click on ‘Connect’ to connect to HubSpot.
If don’t have a Guni account, here is how to Sign Up.
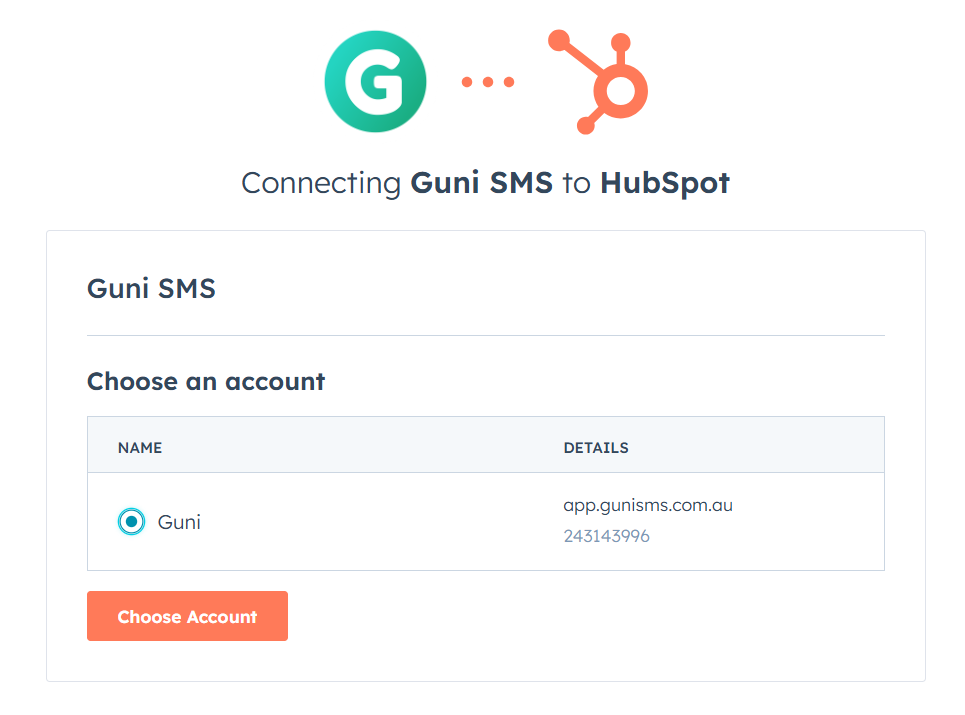
- HubSpot will ask you to choose an account for connection.
- Then connection will be authenticated.
- Your Guni account will be connected with HubSpot.
You can also connect it while Importing contacts.
Sending Quick Messages / Conversation
- Make sure that you logged in your HubSpot account.
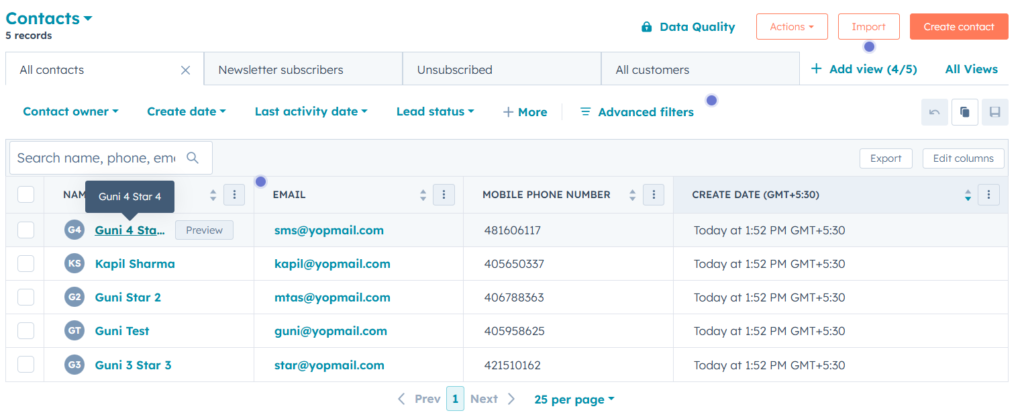
- Open the Contact page.
- Click and open the contact on which you need to send quick message.
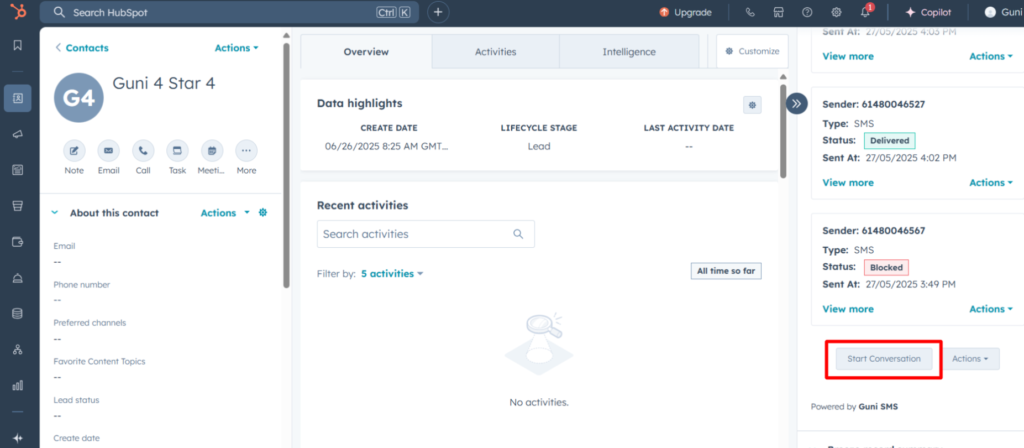
- ‘Guni SMS’ will be present at the right-hand side sidebar.
- If you don’t find it, then scroll down the sidebar.
- Expand the ‘Guni SMS’ panel.
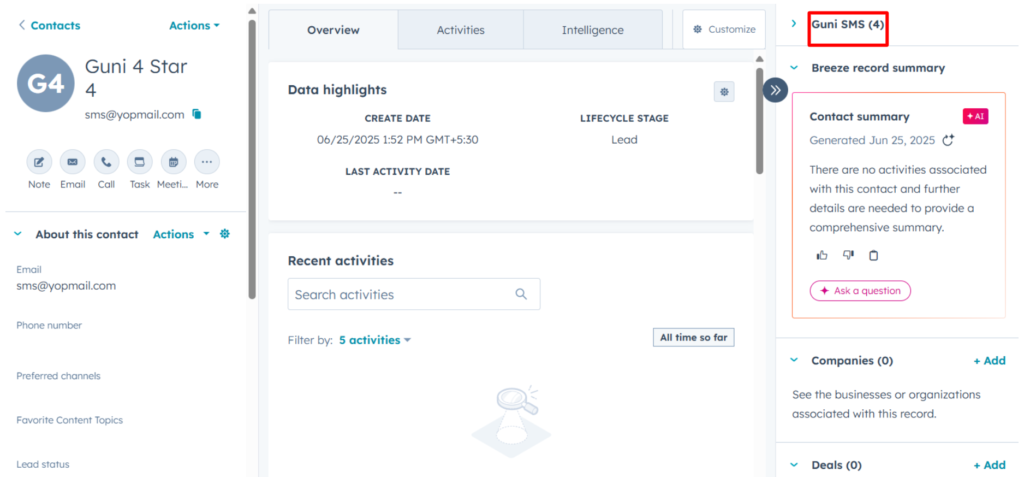
- You will find ‘Start Conversation’ in the ‘Guni SMS’ panel.
- Click on ‘Start Conversation’.
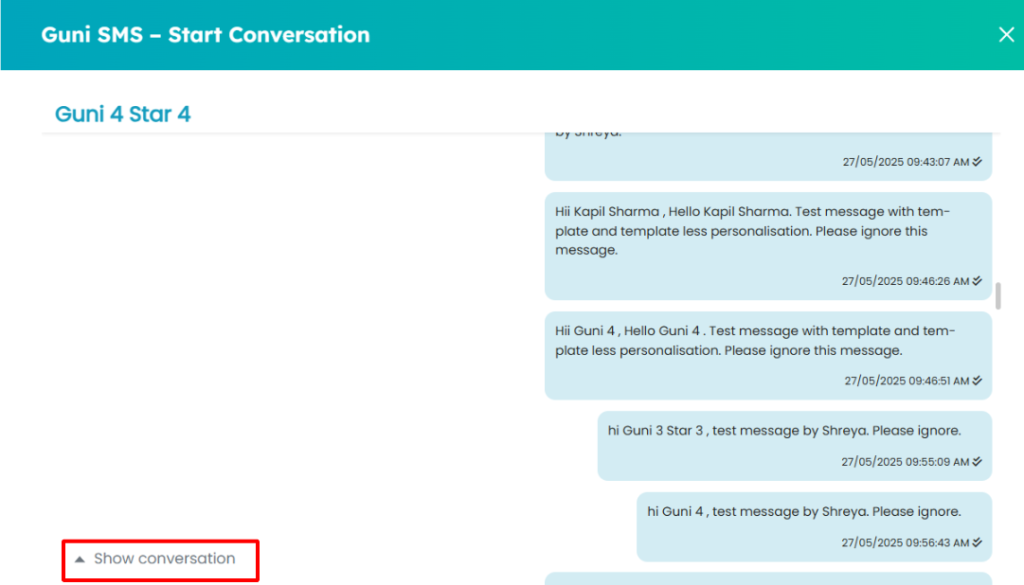
- Click on ‘Show Conversation‘.
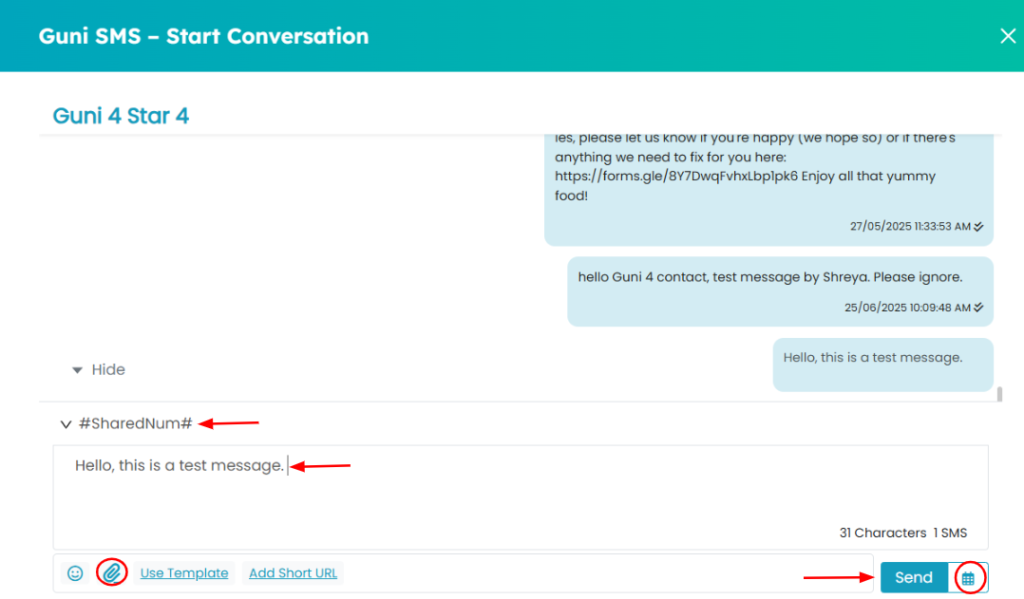
- Select Sender ID as message sender.
- Type the message content.
- Add Short URL and Template if needed.
- Add Attachment if you want to send a Quick MMS.
- Click on
- Send – To send the message now.
- Schedule – To set schedule for message sending.
- A ‘Sent Successfully’ pop up will appear.
- Message history will be displayed in conversation and Guni SMS panel at sidebar.
Workflow
- Make sure that you logged in your HubSpot account.
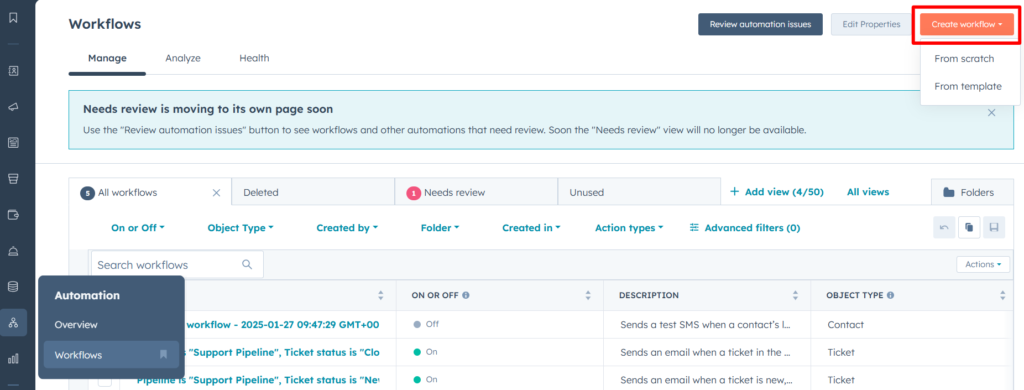
- Open Automations -> Workflow.
- Click on ‘Create Workflow’.
- you Can select from
- Scratch – Create it totally by yourself.
- Template – Provides a structure for you to edit and use.
We are creating from Scratch; you can use Template if found fit.
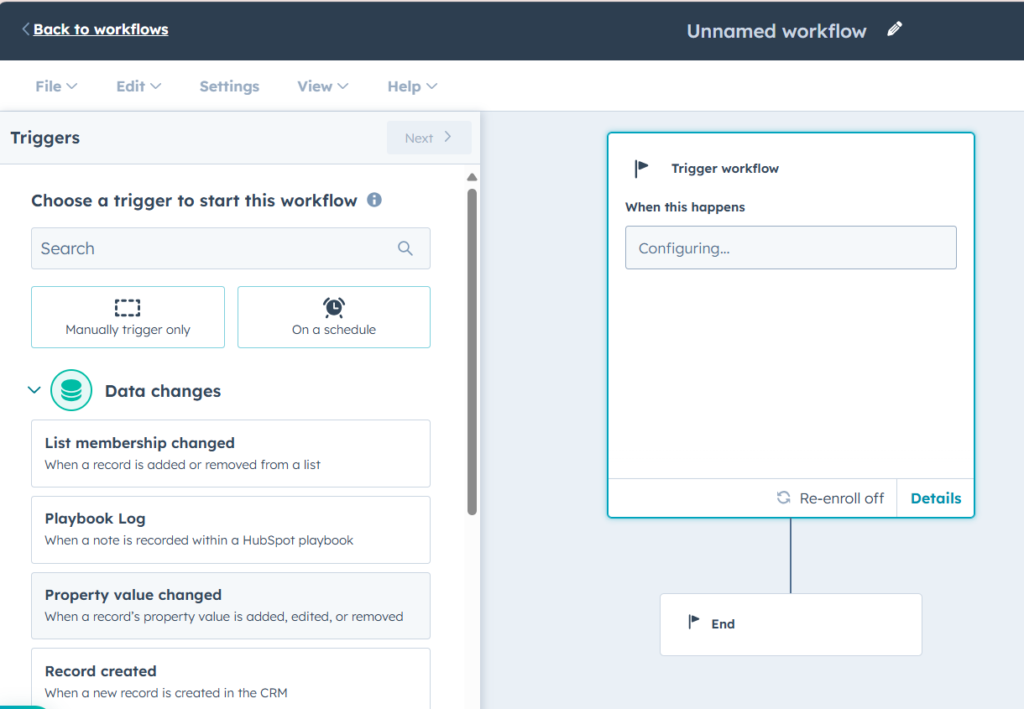
- Select the Trigger for your workflow.
We will be choosing Data Changes -> Property Value Change as Trigger. You can choose the suitable one for yourself.
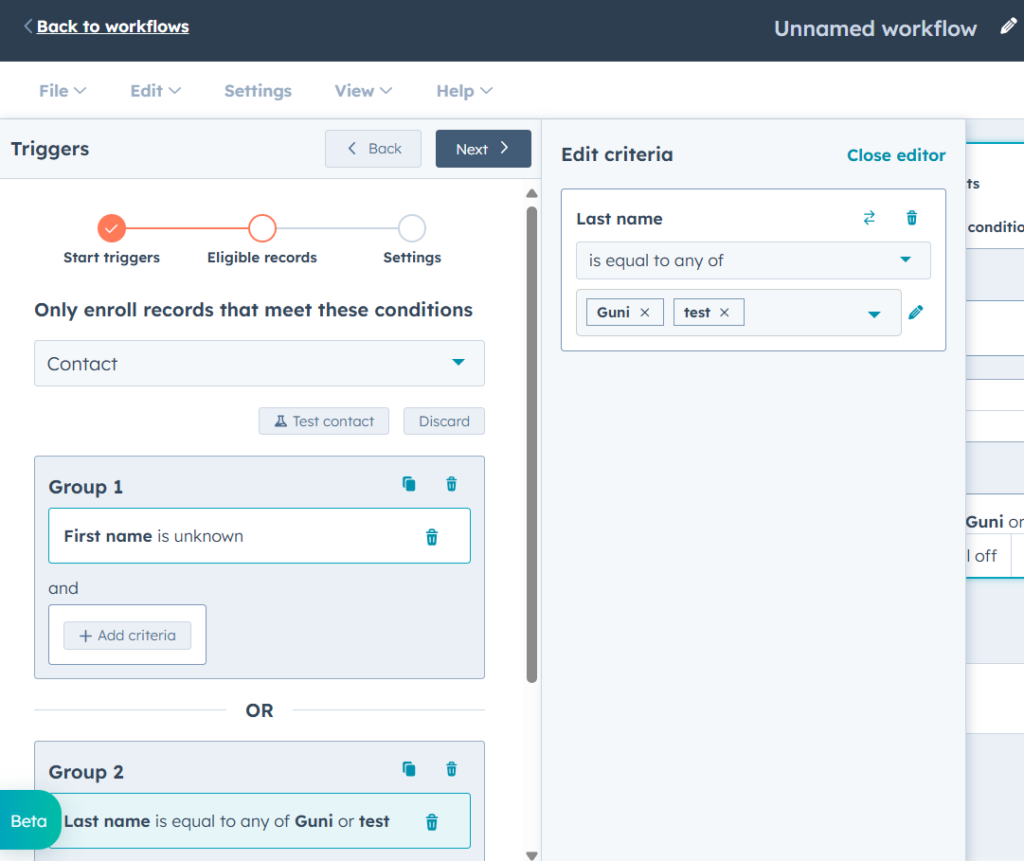
- Add the Trigger condition for the property you have chosen.
- You can add multiple trigger properties and conditions.
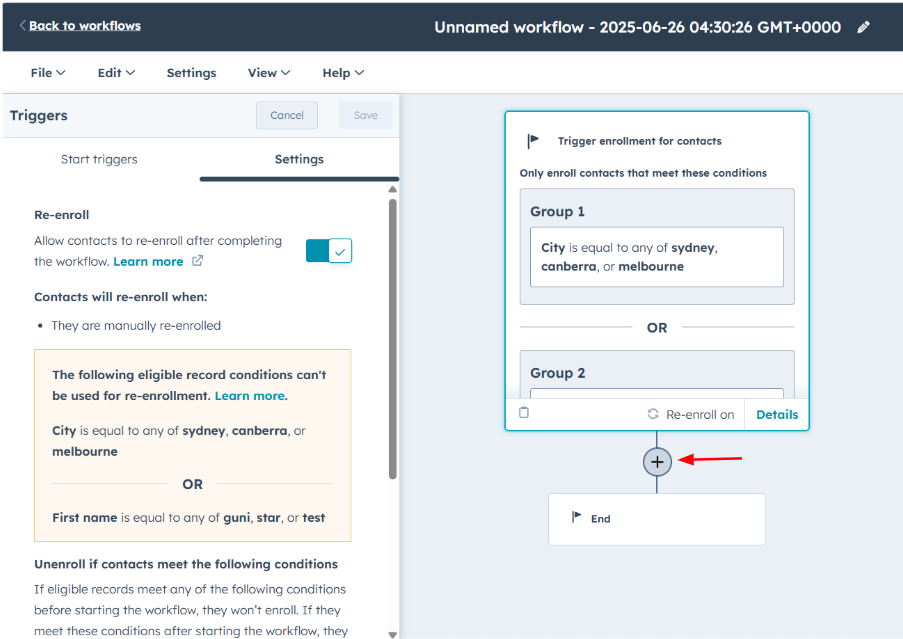
- Click on ‘+’ in workflow to add actions to be taken on ‘Trigger Condition’.
Save the workflow and come back to add actions if it doesn’t provide the option at the moment.
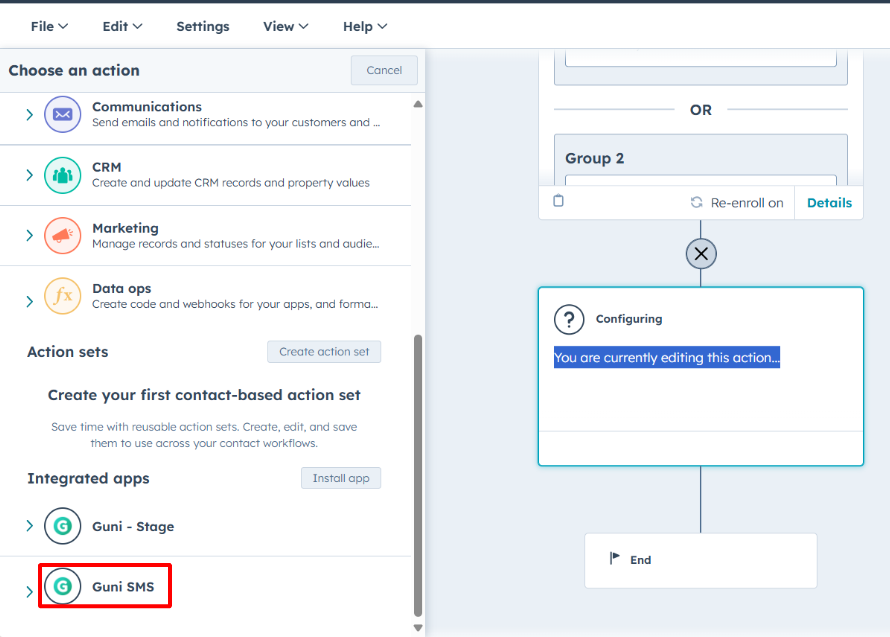
- Choose the Guni SMS app.
- Click on ‘Send SMS‘.
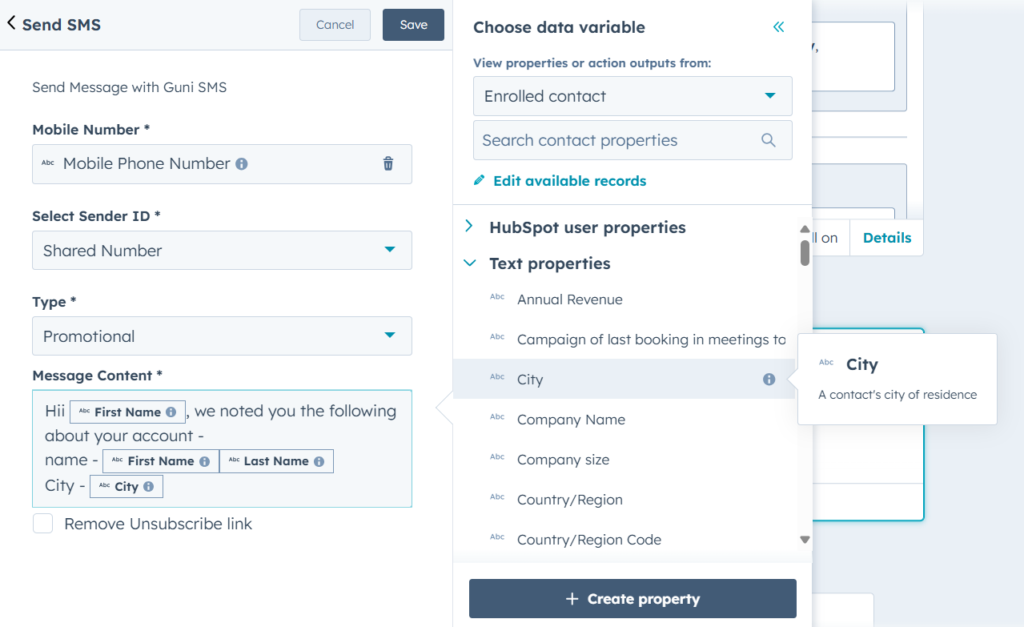
- Provide
- Mobile Number – Field for contact Number.
- Sender ID – Message Sender
- Type – type of Campaign
- Promotional – Not send to optouts, goes with a unsubscribe link.
- Notification – Sent to all the selected contacts.
- Message – Text you want to send in your SMS; you can add personalization in it.
- Click on ‘Save‘.
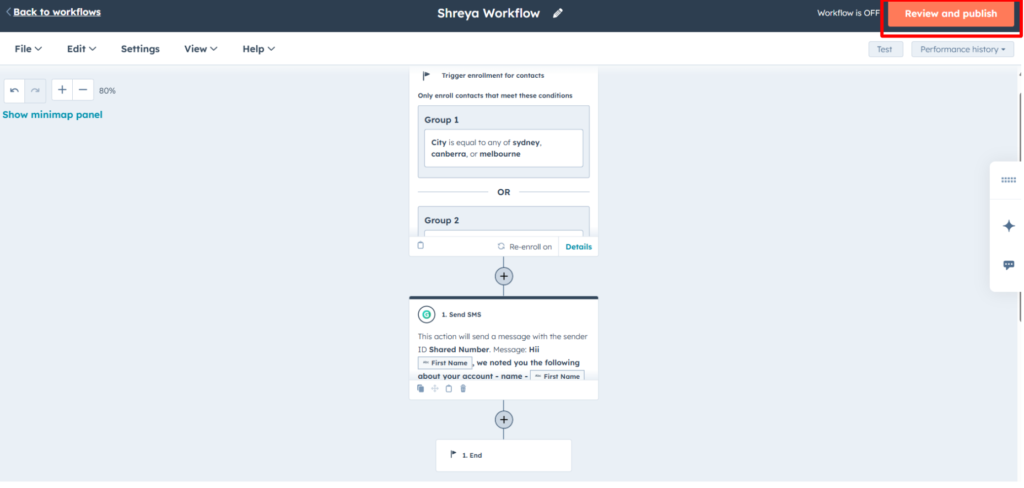
- Name the Workflow.
- Click on ‘Review and Publish‘.
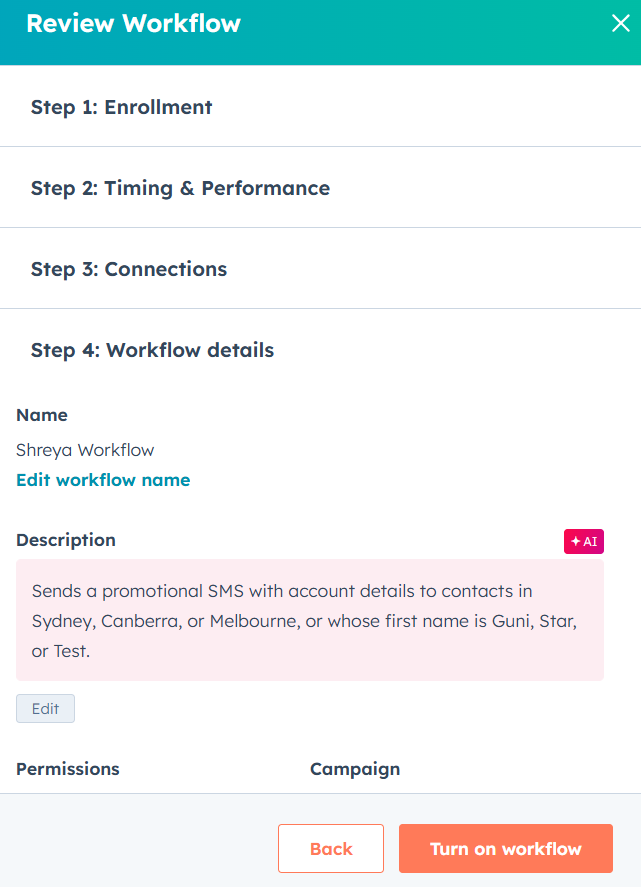
- Review the workflow.
- Complete all the steps including Enrollment, Timing and Performance, Connections and Workflow Details.
- Click ‘Turn on Workflow‘ if you want it to be functioning already, otherwise you turn it ‘ON’ whenever required.
- Once the workflow is ON, you can Enroll Contacts in it.
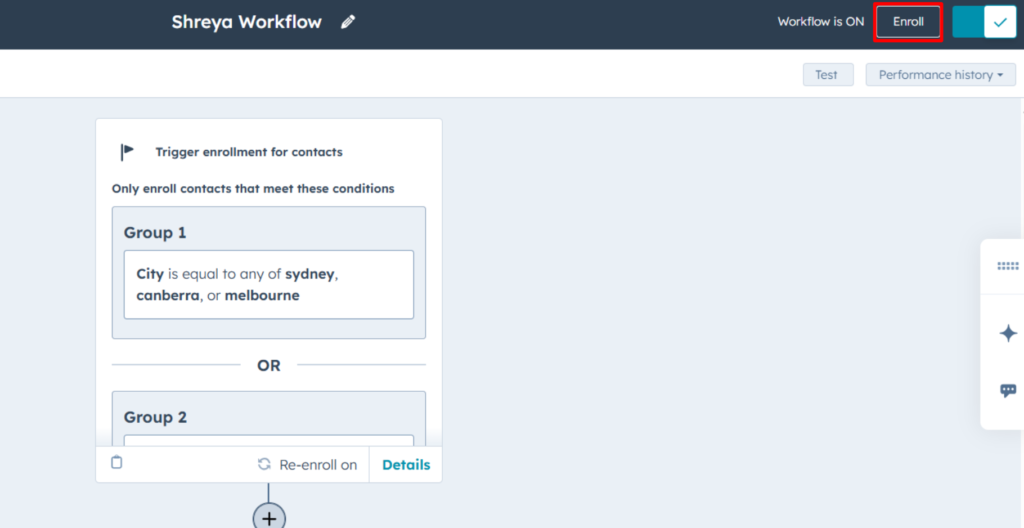
- You can enroll contacts by filter, list or individually.
- After selecting contacts, click on ‘Enroll’.
We are using a list to enroll contacts here. Feel free to choose any.

- Your workflow is working now and will automate SMS sending as you have provided it.